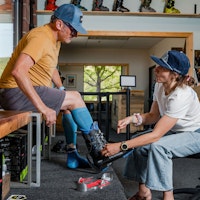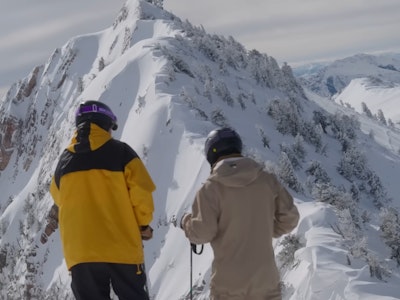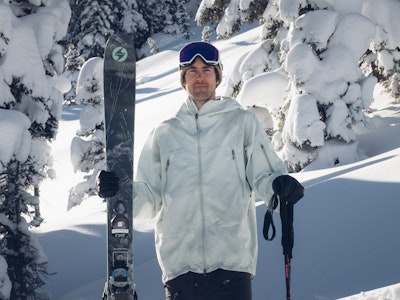

Knowing how to operate your avalanche beacon long before you’re in the backcountry and potentially have to use it is imperative. In this video, BCA’s Andy Wenberg and Avalanche 1’s Mike Duffy go over basic transceiver functionality and introduce the four phases of a search using your beacon.
Using BCA’s Tracker 3 and Tracker S transceivers, Wenberg, Duffy and their team run through three search scenarios:
1 Searcher, 1 Victim
1 Searcher, 2 Victims
2 Searchers, 2 Victims
While there’s nuance to each scenario, the high-level search process generally follows these phases:
The Signal Search – The team shows you how to navigate the debris field in an attempt to acquire a signal. Speed is of the essence here but once you have a consistent signal, it is time to slow everything down for…
The Course Search – Following the distance readings and directional lights, let the beacon guide you until you reach five meters. From there, you enter…
The Fine Search – This is where everything slows down to a crawl and you’re looking for a reading under two meters so you can begin bracketing. Once you find the lowest distance reading, it’s time for…
The Pinpointing Phase – This is where you can use your avalanche probe to confirm the exact burial depth and location of the victim.
Beyond that, Wenberg and Duffy cover best practices like where to wear your transceiver on your body, how to conduct a trailhead check and how electronics and snowmobiles can interfere with the functionality of beacons.
Enter for a chance to win a Tracker4 Rescue Package from Backcountry Access!

![[GIVEAWAY] Win a YoColorado X Coors Banquet & Liberty Skis Prize Package](https://www.datocms-assets.com/163516/1769630228-pastedgraphic-3.png?w=200&h=200&fit=crop)
