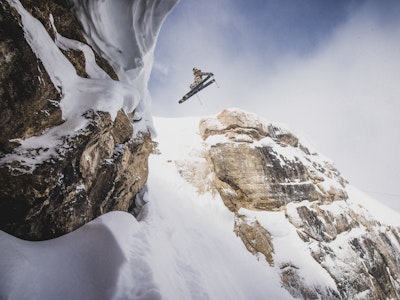
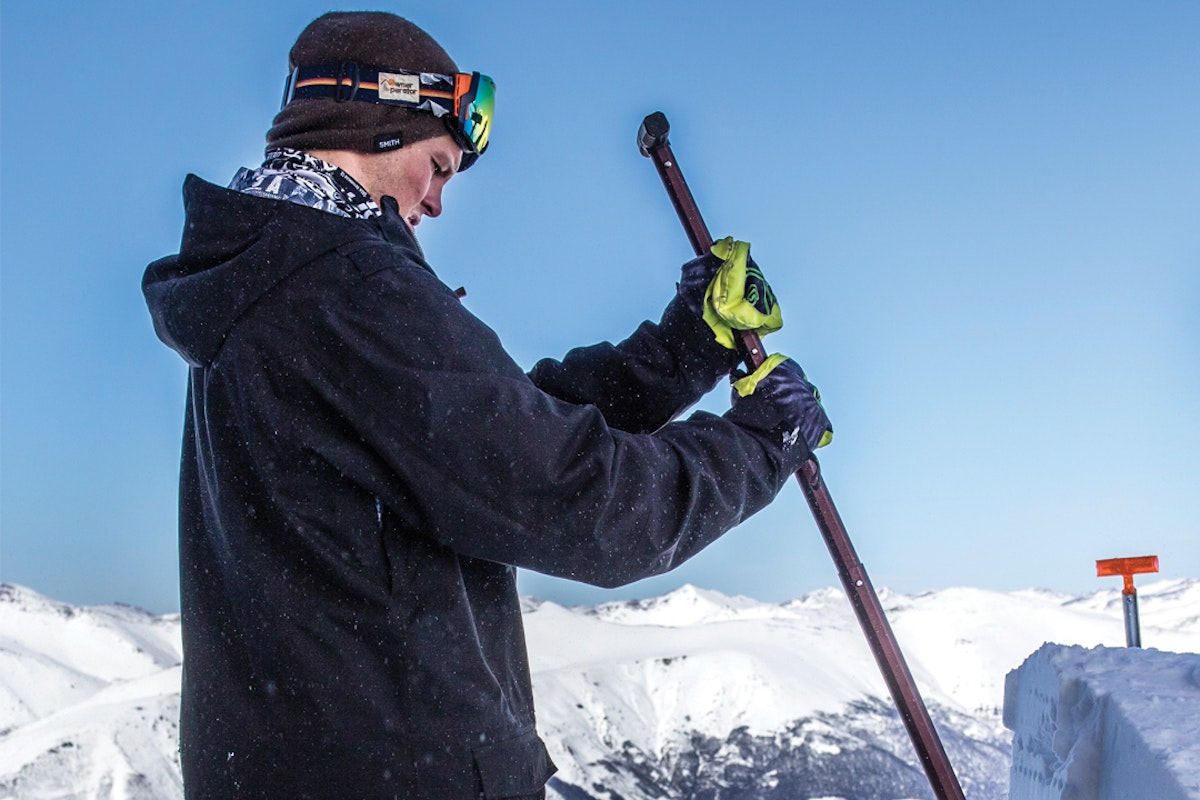
There’s more to crafting a proper backcountry jump than just lumping snow in a pile, compacting said snow and shaping the ramp in a generally upward direction. To maximize your potential for stomping big tricks, Tim Durtschi, a standout in many Teton Gravity Research films, outlined a few key things to keep in mind.

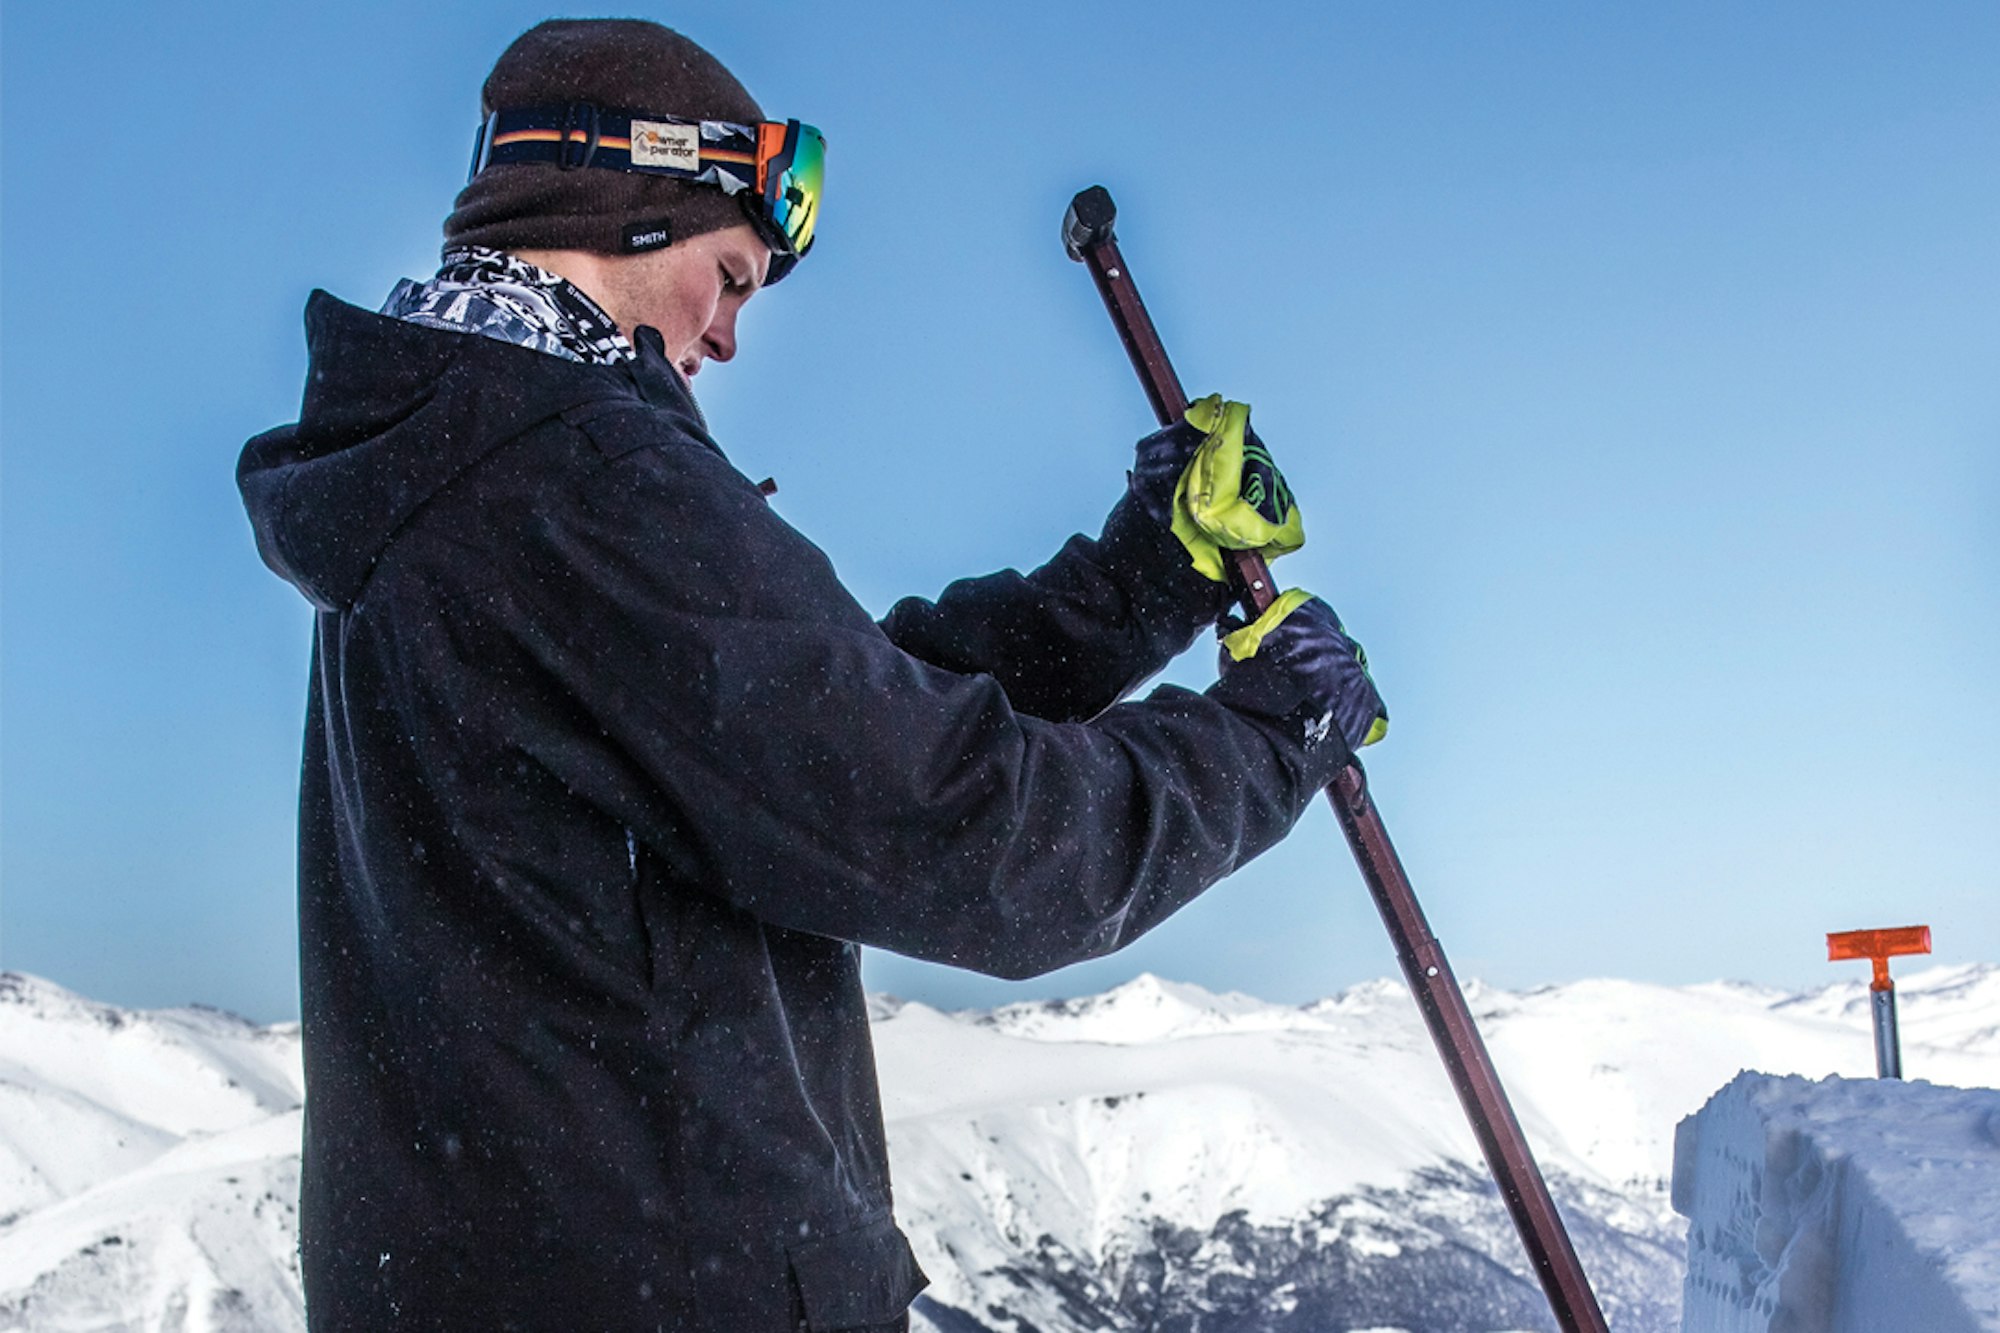
DO check the landing for rocks and small trees, unless you’re wearing football pads. Take out your probe and check the landing for obscured obstacles, like stumps or rocks.
DON’T start building a jump without staking the corners, i.e. set the boundary using ski poles, twigs, whatever. You don’t want to have to shovel the same snow three different times.
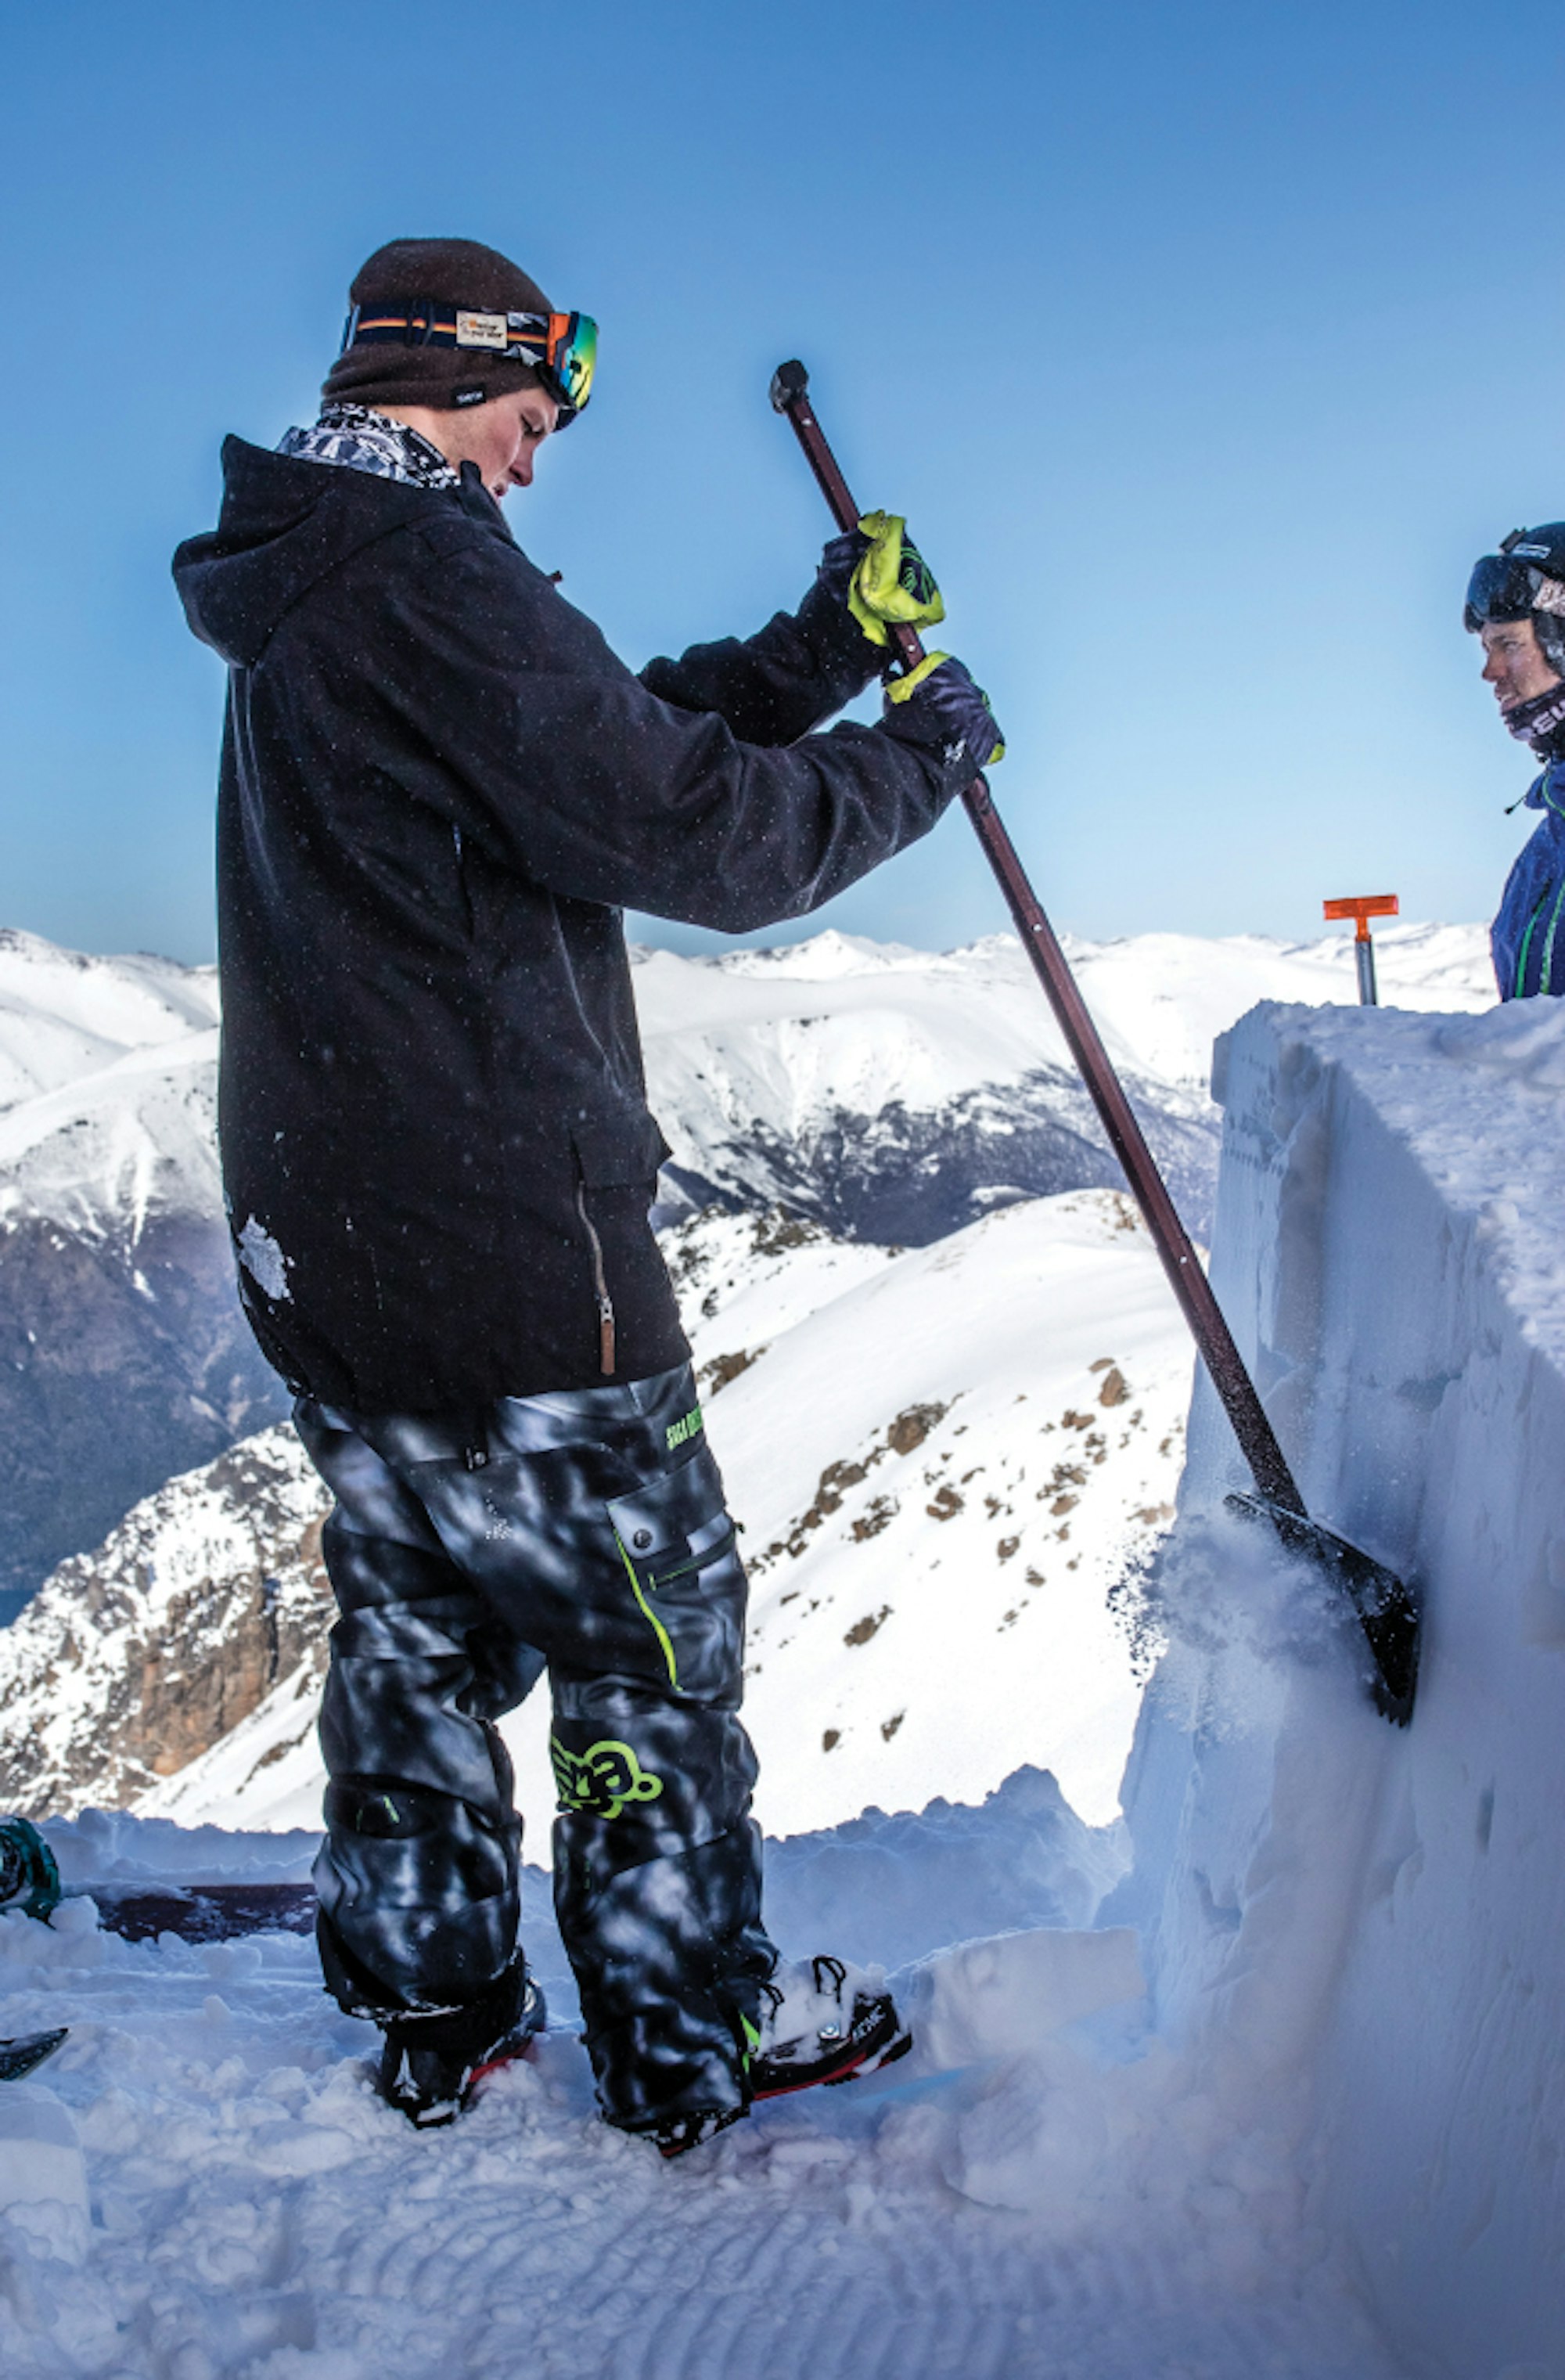
DO create snow blocks to build your jump. Yeah, it’ll take a bit of extra time, but you’re going to end up with a solid booter—one you can be confident to try new tricks on. Frame up the outer walls with larger blocks and fill the center with smaller blocks and loose snow.
DON’T worry about making blocks that are perfect cubes. I like to make more of a rectangle—about the size of a shoebox. The blocks don’t have to fit together perfectly. Most blocks will conjoin just fine and this is where you can get creative and let your inner architect shine.
DO dig deep to find good, solid layers of snow for building blocks. The more compact the snow, the better—especially when building tall jumps.
DON’T use sugary snow to build your jump or you will end up with an ugly lump. Look for snow that is going to pack well. If you’re working with wet snow (think spring kickers) it’d be a good idea to bring some salt along—sprinkle salt on the take-off to make the snow firm and fast, allowing for maximum corking. Never ice the landing, or you’re going to have a bad time.
DO make your friends help shovel, even if they don’t feel like hitting the jump—because you would do the same for them. Bring a Bluetooth speaker to blast beats and tell your pals that drinks are on you at the après hour—thanks, squad!
DON’T give the jump too much “Wu-Tang,” i.e. too much kick. Make sure the lip of the jump more or less matches the length and ramp angle of the transition. Think: cheese wedge. Adding too much “zing” to the lip is the number one mistake I see among novice jump builders. When you want to send it for the boys but don’t want to send it to the emergency room, think twice before shaping a jump that’s pointed towards the Moon. Fine-tune the jump if you’re not satisfied with your creation after one or two hits. More likely than not, I myself am making adjustments after my first go at a jump.
DO make sure there is enough speed for the jump.
DON’T make the jump too narrow just to save time. There is nothing worse than having a ski slip during takeoff. I tend to aim for a width of about six feet, at a minimum. If it’s not too tall of a jump, I will go wider to accommodate carving take-offs and butters— even up to 12 feet.
DO step-out the jump with your skis to get the transition angle right. If you have access to a jump-building tool with a grooming blade, this will also help tremendously in terms of achieving a smooth launch pad. These tools also help to give the jump a nice shape, because your tricks won’t look as nice on Instagram with a haggard jump in the background.
DON’T use your skis as a frame for the jump. You will pull your skis out of the snow when it’s go time and your precious baby will crumble. It’s just the worst method out there—stick to the bricks.
DO saw off or knock down tree branches blocking the in-run so you don’t get whipped in the face before you get sendy.
DON’T cut down big trees on the in-run—it is usually possible to find a solid route, get creative and add some pump-track-style to your jump before busting out the chainsaw.
DO rock-paper-scissors for first hit. This is the fairest method in my opinion. You’re going to hit jumps with your crew all season and unless you’re the worst RPS player in the world, you’re going to get a few first hits.
DON’T blow it when you get first-hit honors.
DO get an early start in the morning so you can build a quality jump and leave enough time to session. If time and weather allow, it’s never a bad idea to build one day and come back the next—full of energy—for an all-day send-fest.
DON’T sleep in and let another crew poach your hard work.
DO hit Chad’s Gap with your crew before Alta builds a chairlift in Grizzly Gulch.
DON’T ask how to get to Chad’s Gap from the bottom of Alta.
DO or DON’T destroy the jump after your session. This is something that used to be a big deal between battling film crews—leaving a booter for others to session opened the door for one-upmanship, and thereby worthless film clips. But in the new sharing economy, I think it’s awesome to leave the jump standing. There is always a chance you’re going to want to go back for a rebate or for a one-up of your own.
Related gear:
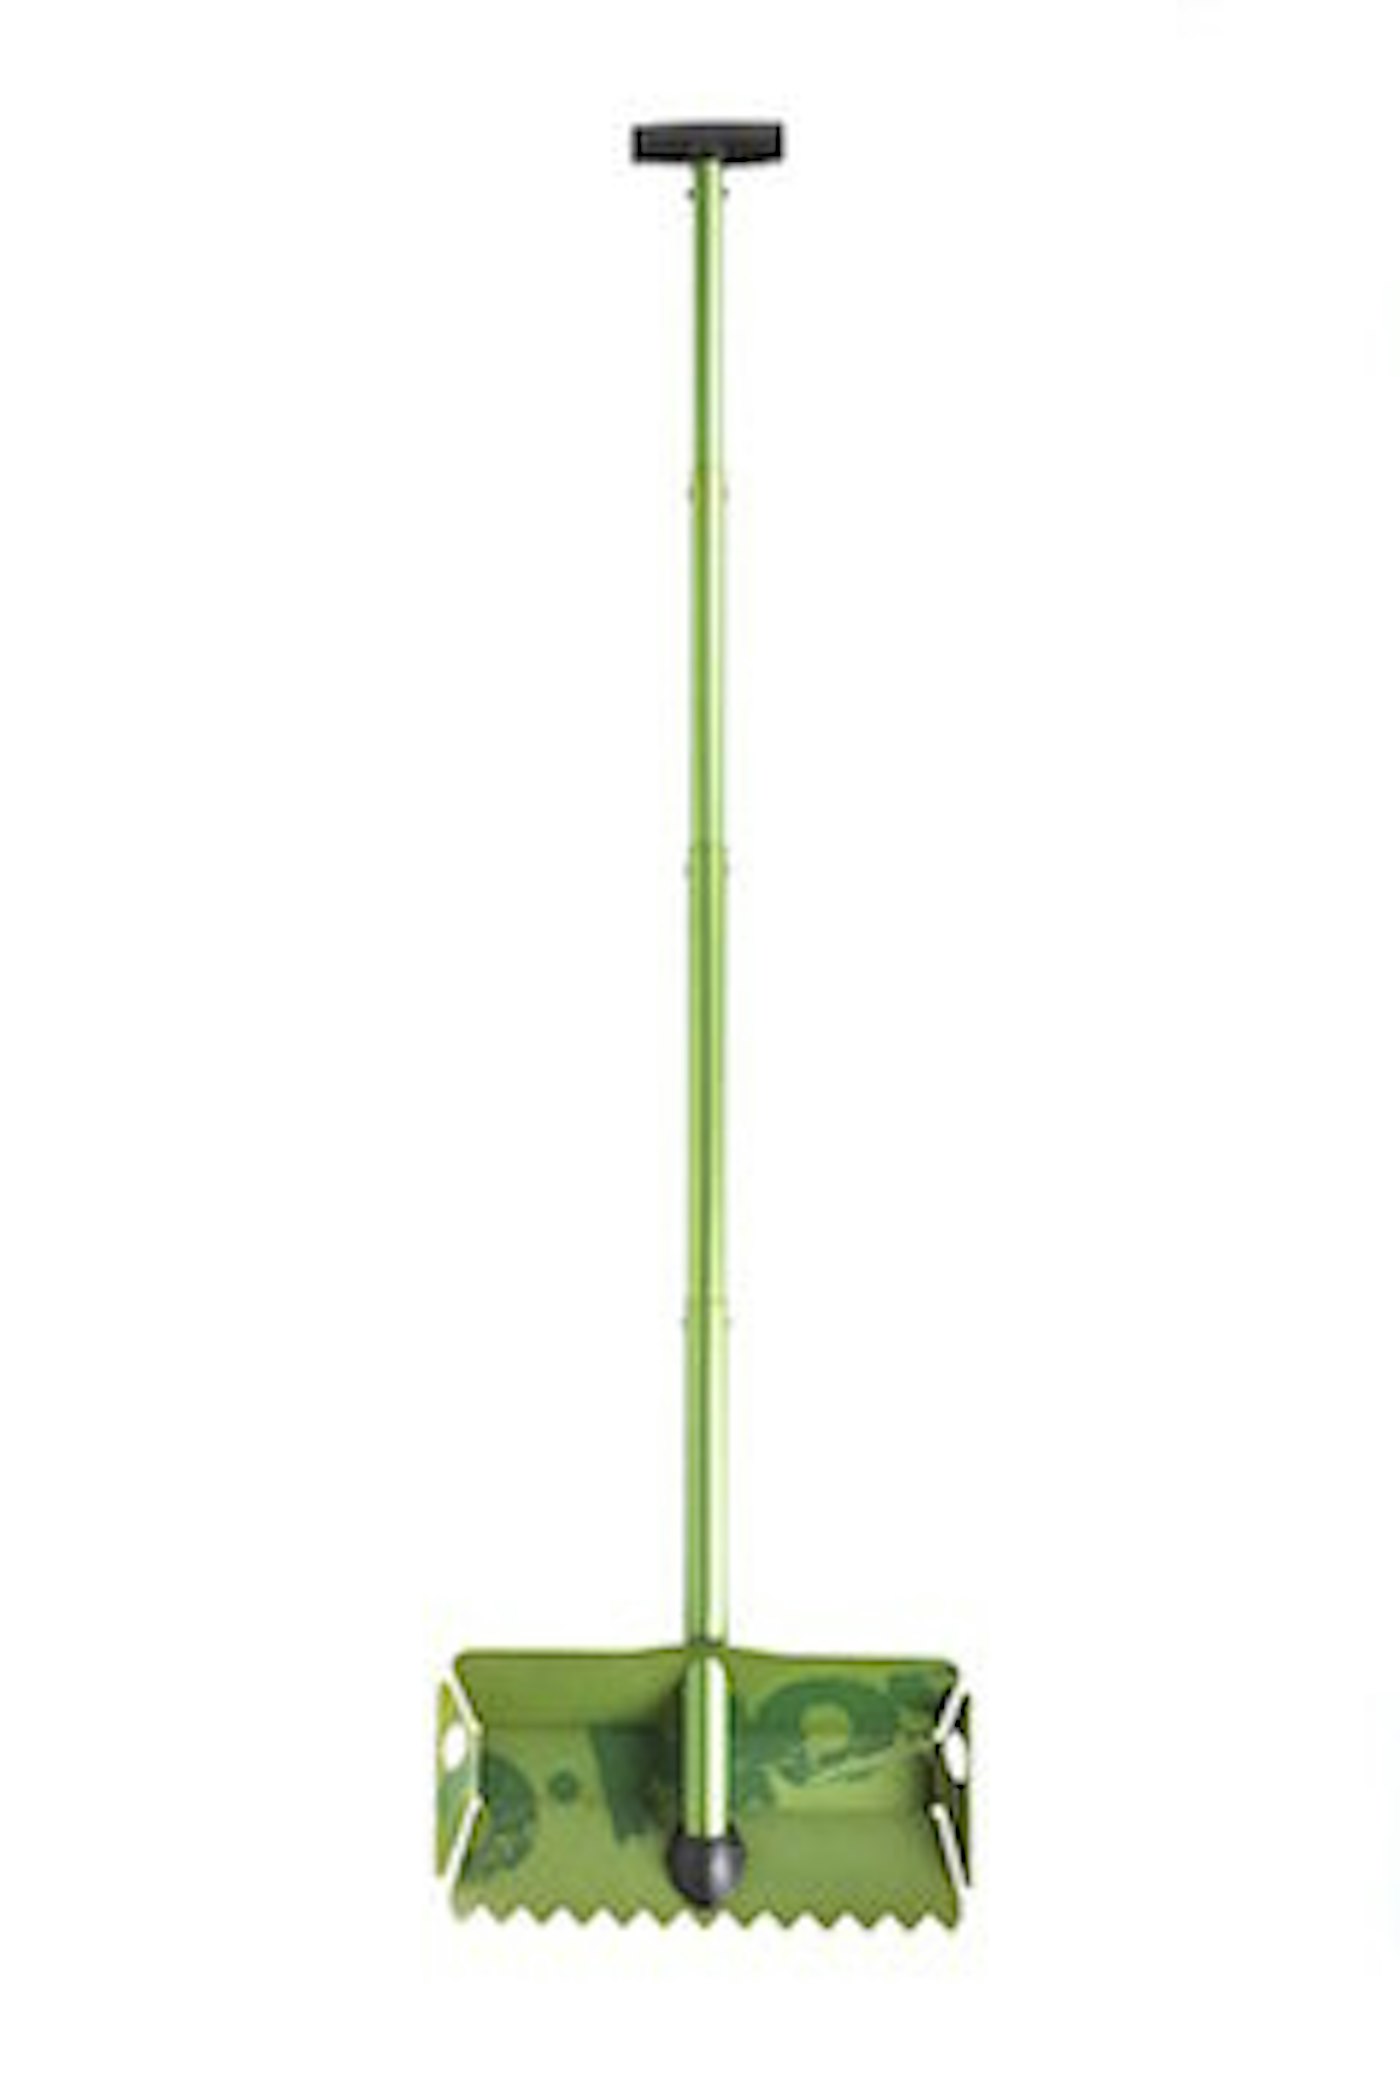
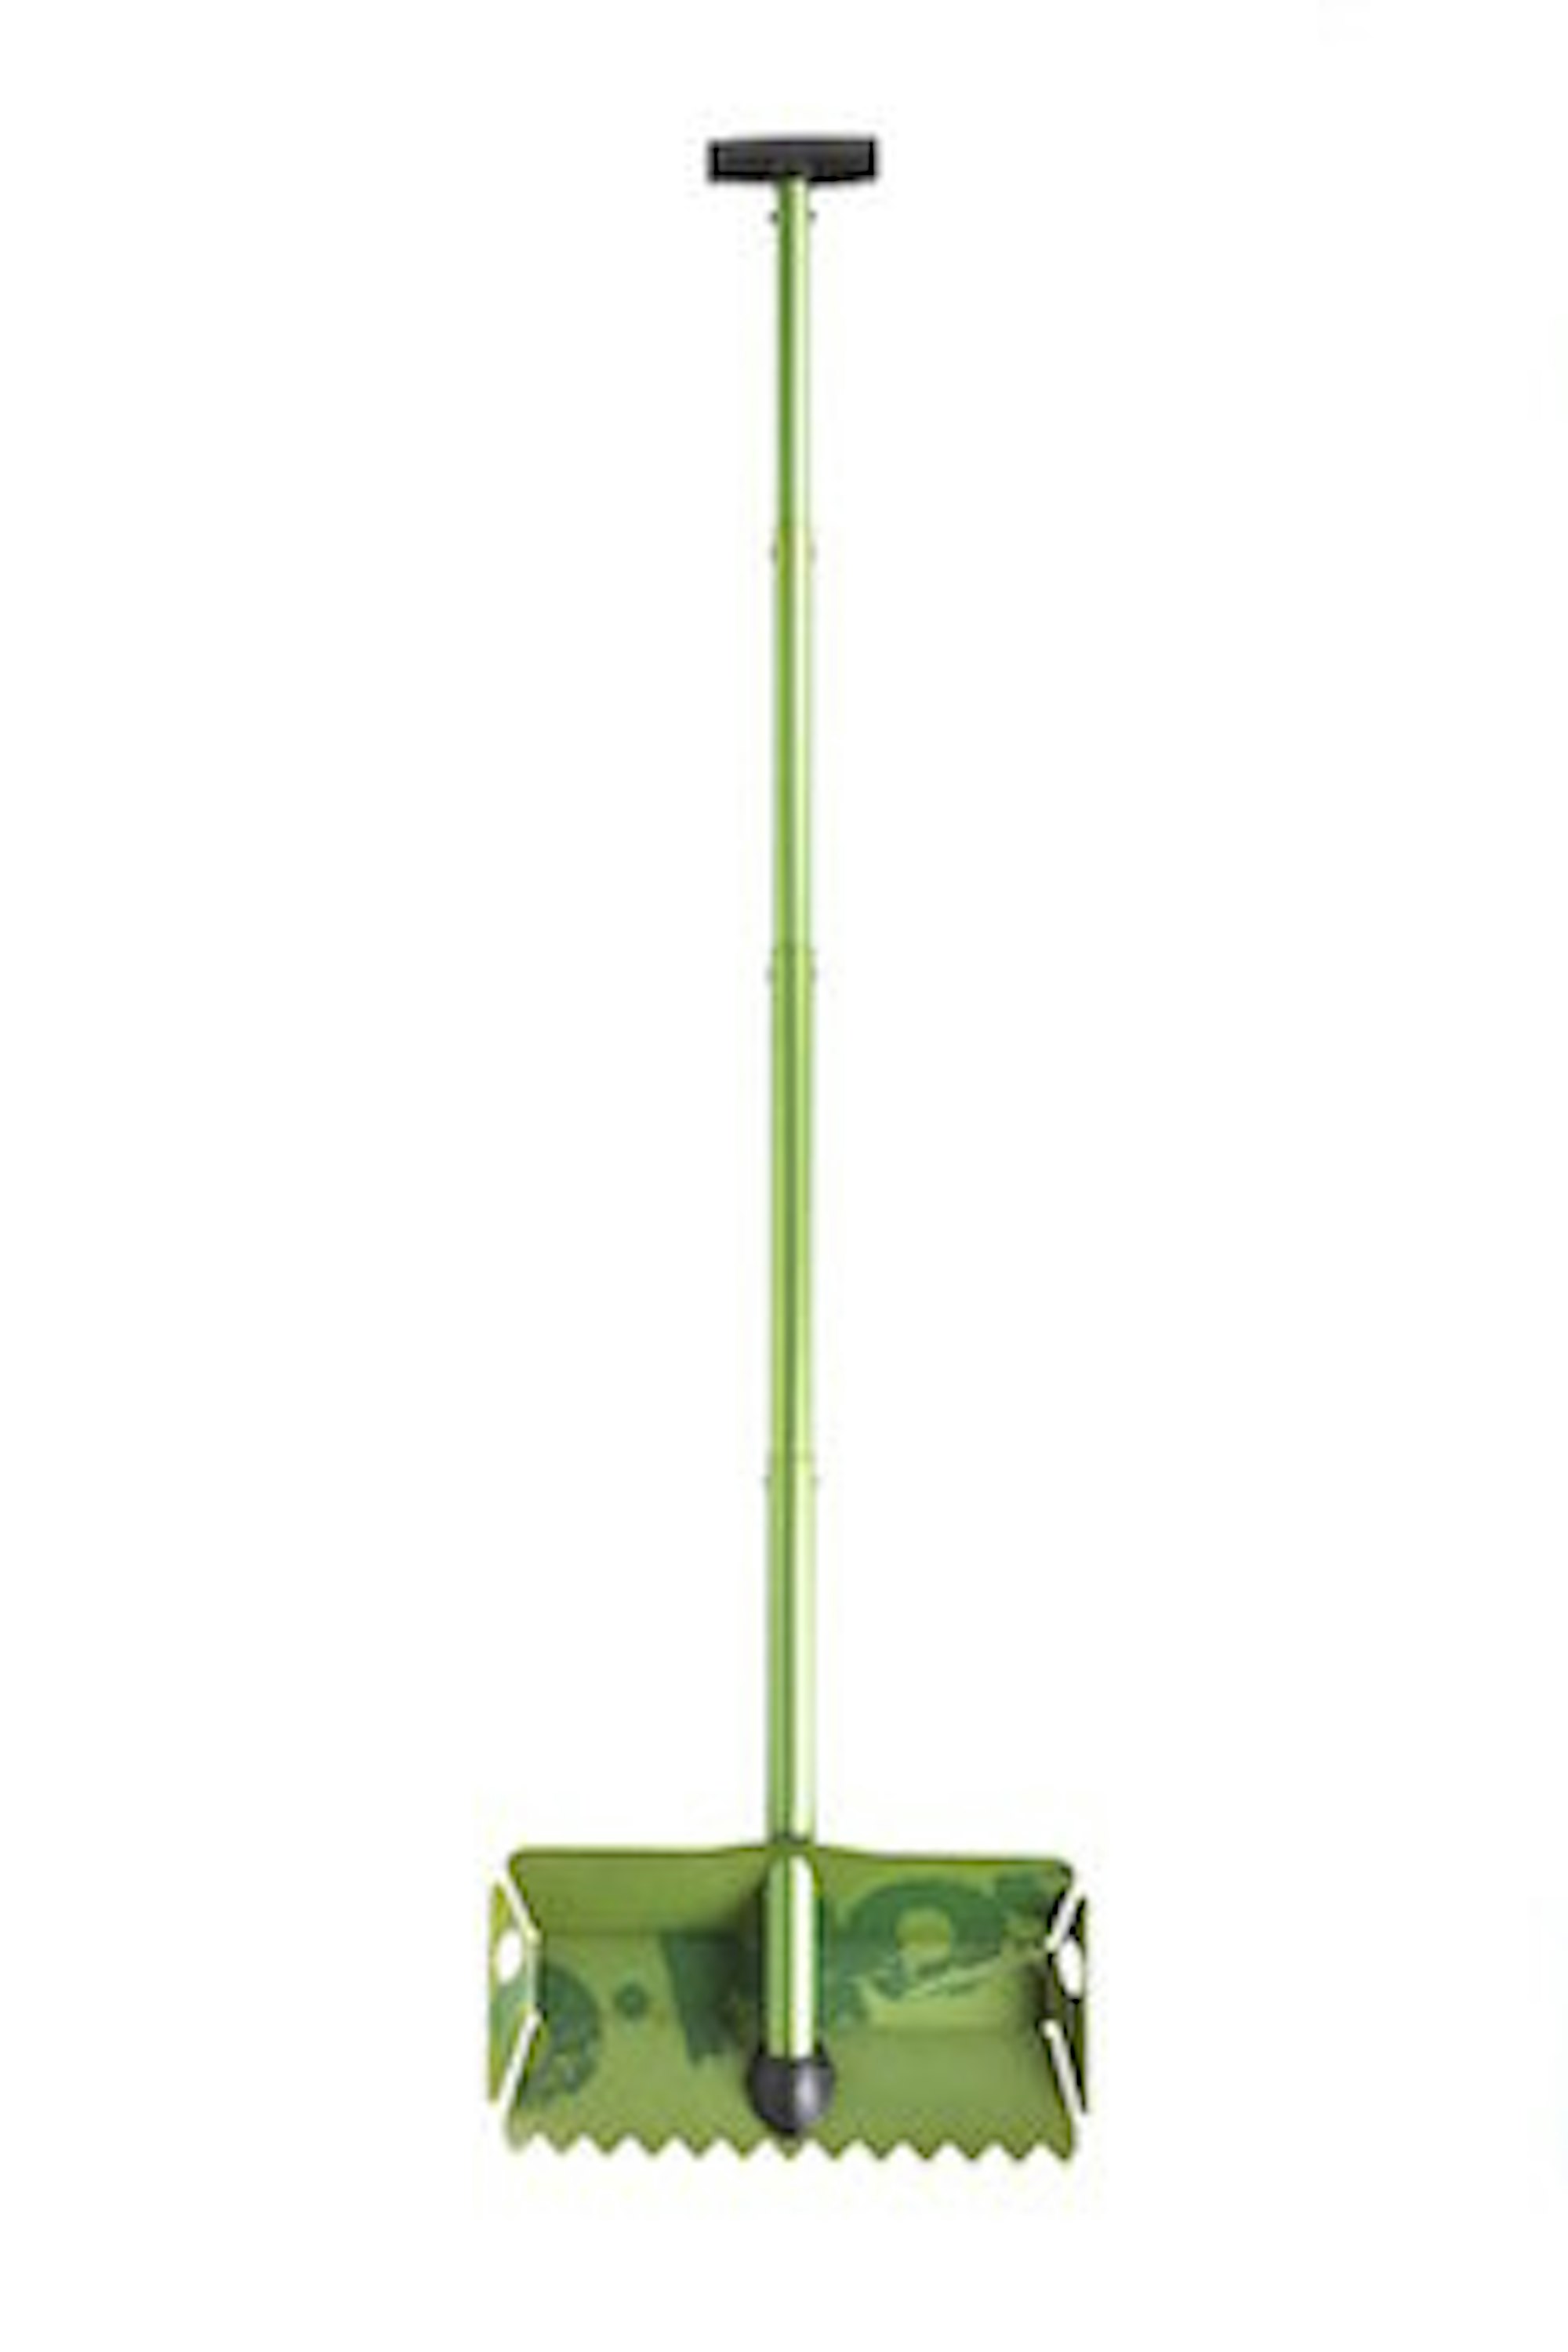
Stealth Shovel
DMOS Collective | $99
With a telescoping shaft and serrated edge for taking and chopping, the Stealth Shovel is designed for all of your jump-building needs, from the backcountry, to the backyard, to the streets.
[su_button url=”https://www.dmoscollective.com/the-stealth-shovel/” target=”blank” style=”flat” background=”#006699″ size=”5″ radius=”5″]Shop Now[/su_button]