Photos: Ariel Miick
We have all been there, sitting on the chairlift after making some amazing turns, just to have our feet throb in pain. Instead of sitting there reveling in the moment with your buddies to either side of you, you are just in silent agony and all you can think about is wanting to get these darn boots off. Yet, you continue on for the entire season—each ski day your feet throbbing—but that won’t stop your irresistible thirst to be skiing. If this sounds like you, it doesn’t have to be this way…
There is a common misconception that ski boots should be painful, that if your feet don’t hurt during a ski day your boots are not tight enough. Well, we are here to prove you wrong. Ski boots, while more temperamental, have an extremely high likelihood of being comfortable thanks to advancements in meticulously dialing in fit. Once dialed, ski boots will stay comfortable for almost 200 days of skiing thanks to their rigid shell holding the liner in place. This is a double-edged sword though, as a shell can also cause immense pain due to ‘hotspots’ or excessive pressure in particular spots on your shin, calf or foot. Thus an incorrect notion was born. For many, this way of thinking is held after many years of skiing in pain, but the simple explanation for this is the fact that not all boot fitters are created equal.
The art of boot fitting is traditionally built on the foundation of following three guiding principles, measuring the length of the foot in mondo point, deciding whether the foot is a low, medium or high volume and establishing the ideal flex based on the customer’s experience and terrain preferences. From there, it completely falls to the boot fitter to discern the small nuances between different boot models and the skier’s foot to find the perfect match. This skill of deciding which ski boot to choose for a customer and then the individualized work needed to be done, such as the creation of custom insoles and shell and liner modification, comes from years of practice. This phenomenon leads to customers getting an extremely high-quality custom-fitted boot. And no one knows how to nail down this seemingly impossible task better than our friends over at Surefoot.
In 1982 Russ and Bob Shay started Surefoot—a different approach to boot fitting rooted in science and technology. The brothers completely ditched the model of trying to make feet fit into ski boots—they decided to make the ski boot fit the foot using state-of-the-art technology combined with the expertise of their practiced boot fitters. Today there are 29 locations worldwide and the company is continuously growing thanks to its perfected system.
Lucky for us, Surefoot’s immense success recently graced us with a new location in Thorton, Colorado. Conveniently located a stone’s throw away from the FREESKIER HQ, we decided to pay them a visit and learn first-hand about the step-by-step process that goes into each pair of the custom-fitting process.
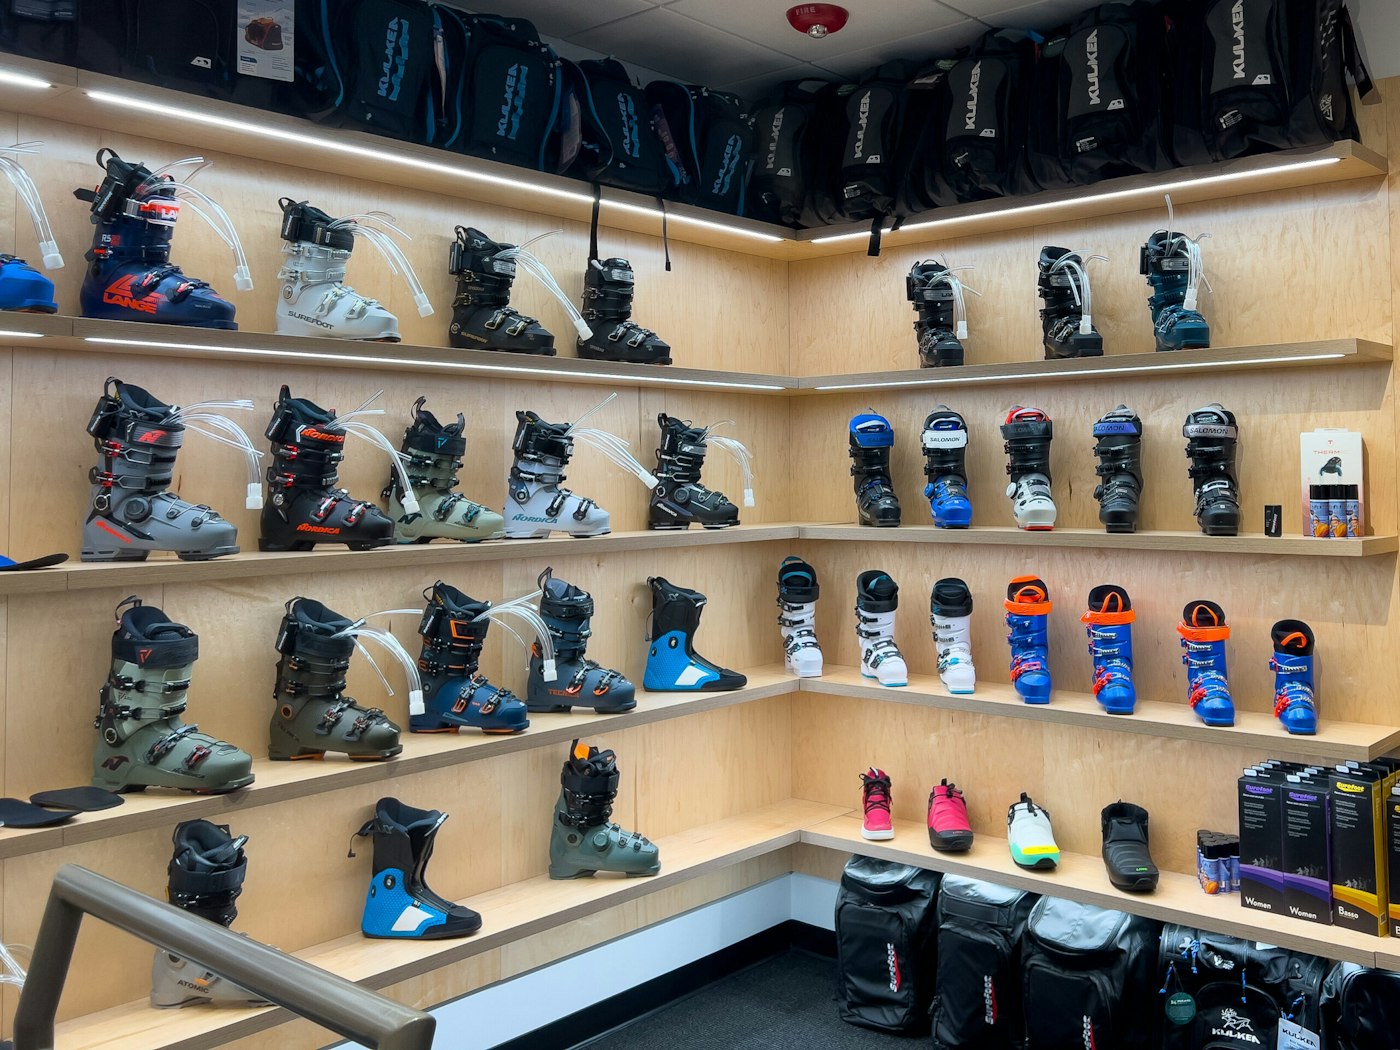
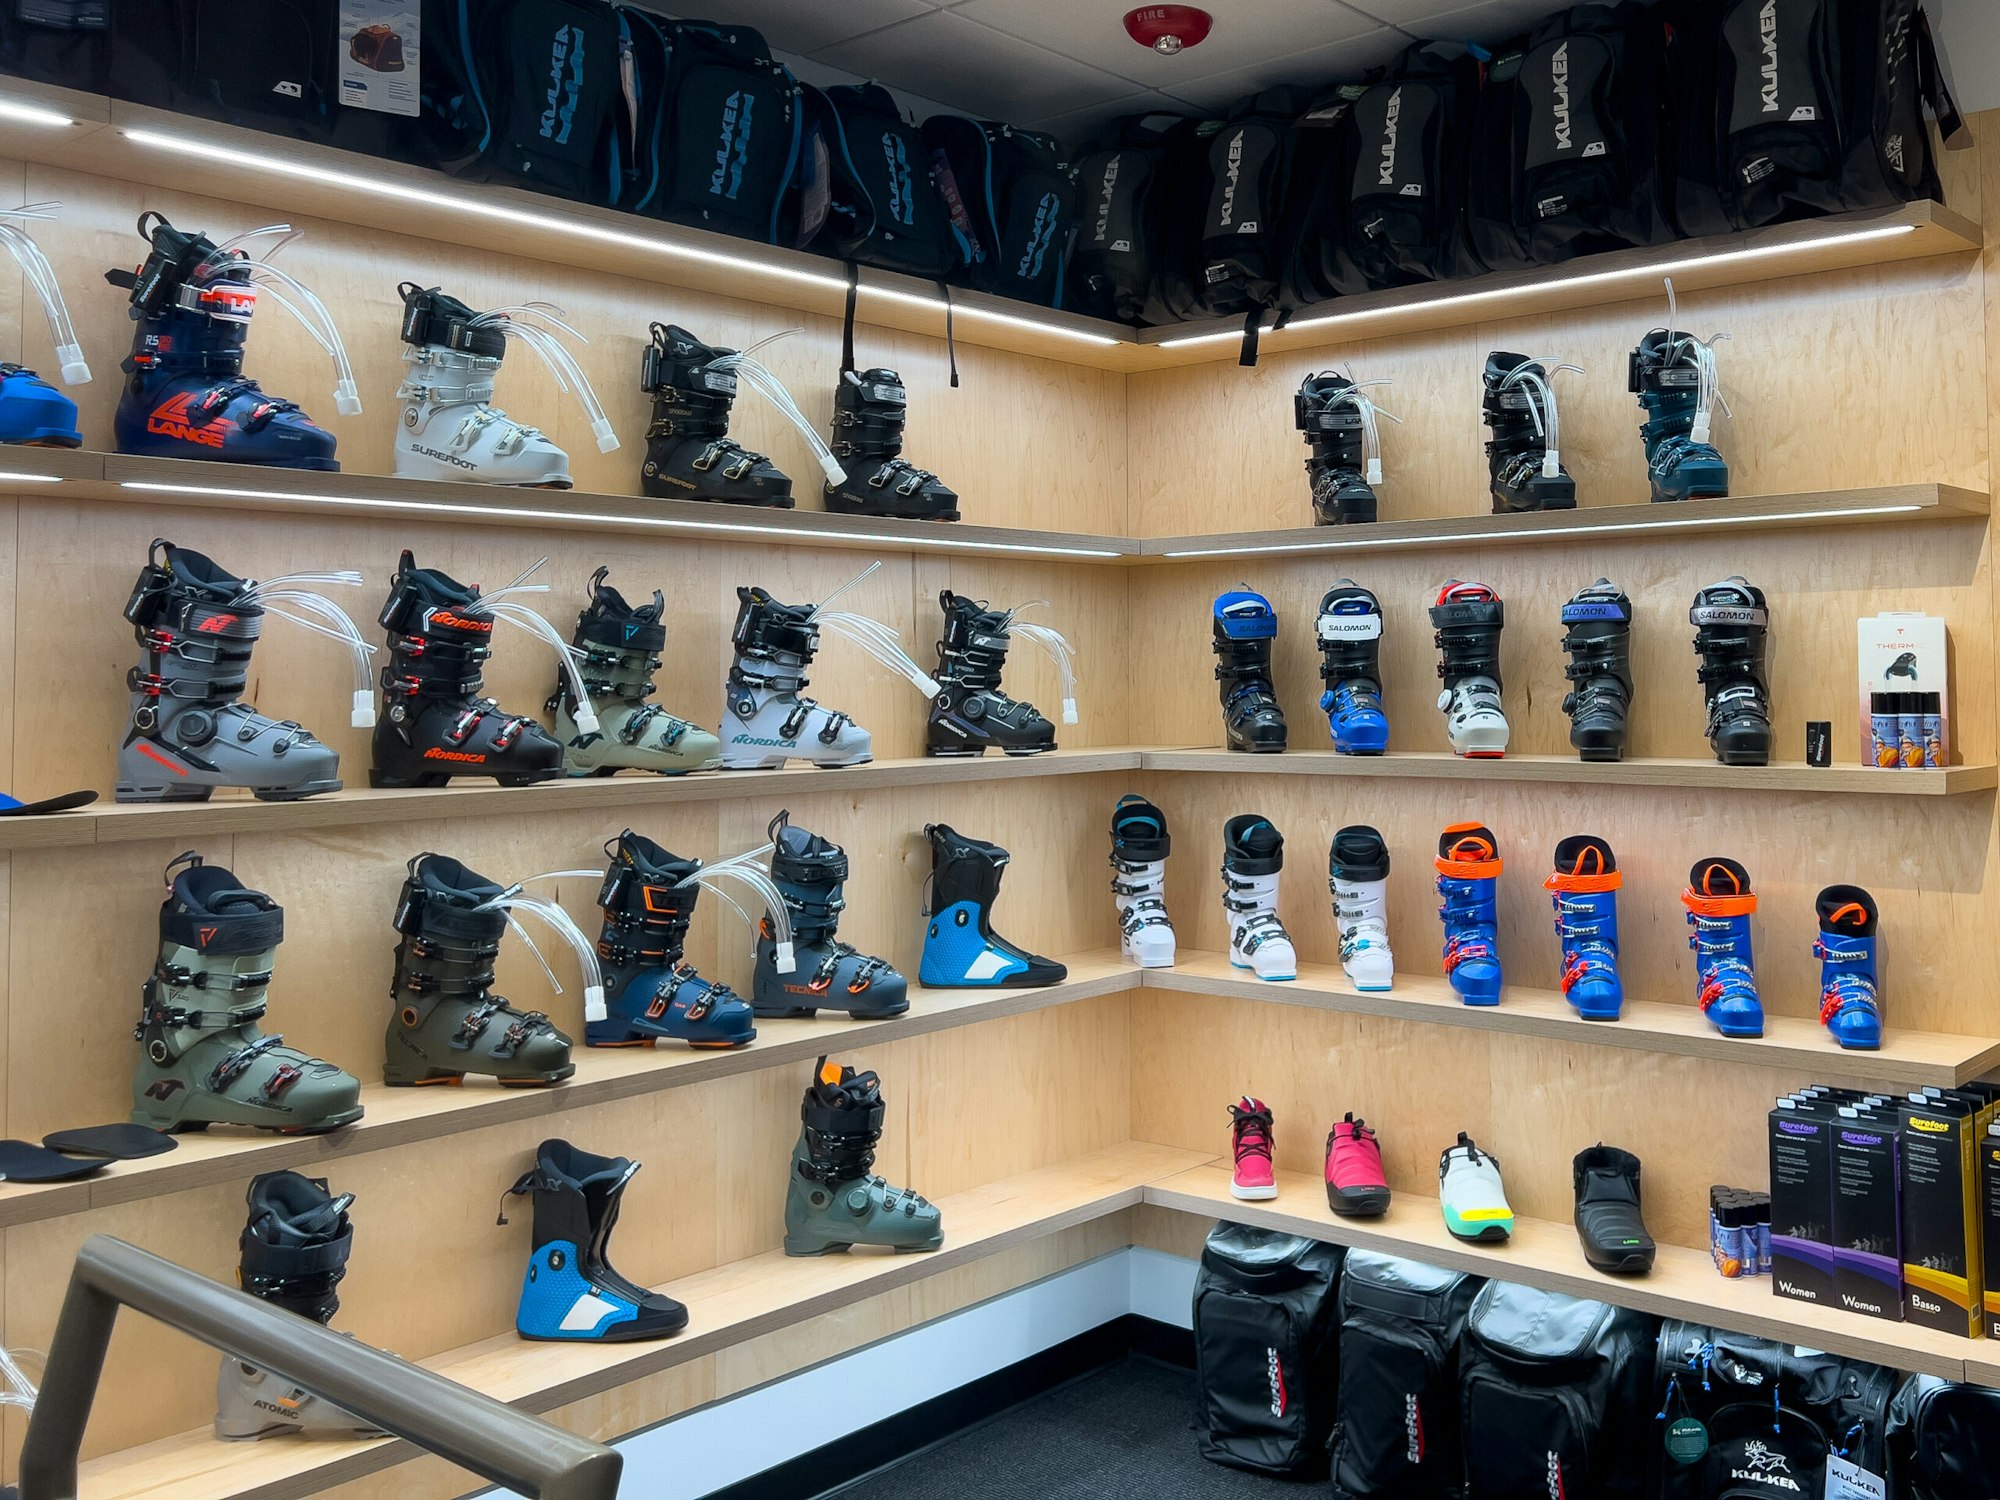
A wide selection of shells ensures theres a right choice for everyone
Step One // Foot Consultation
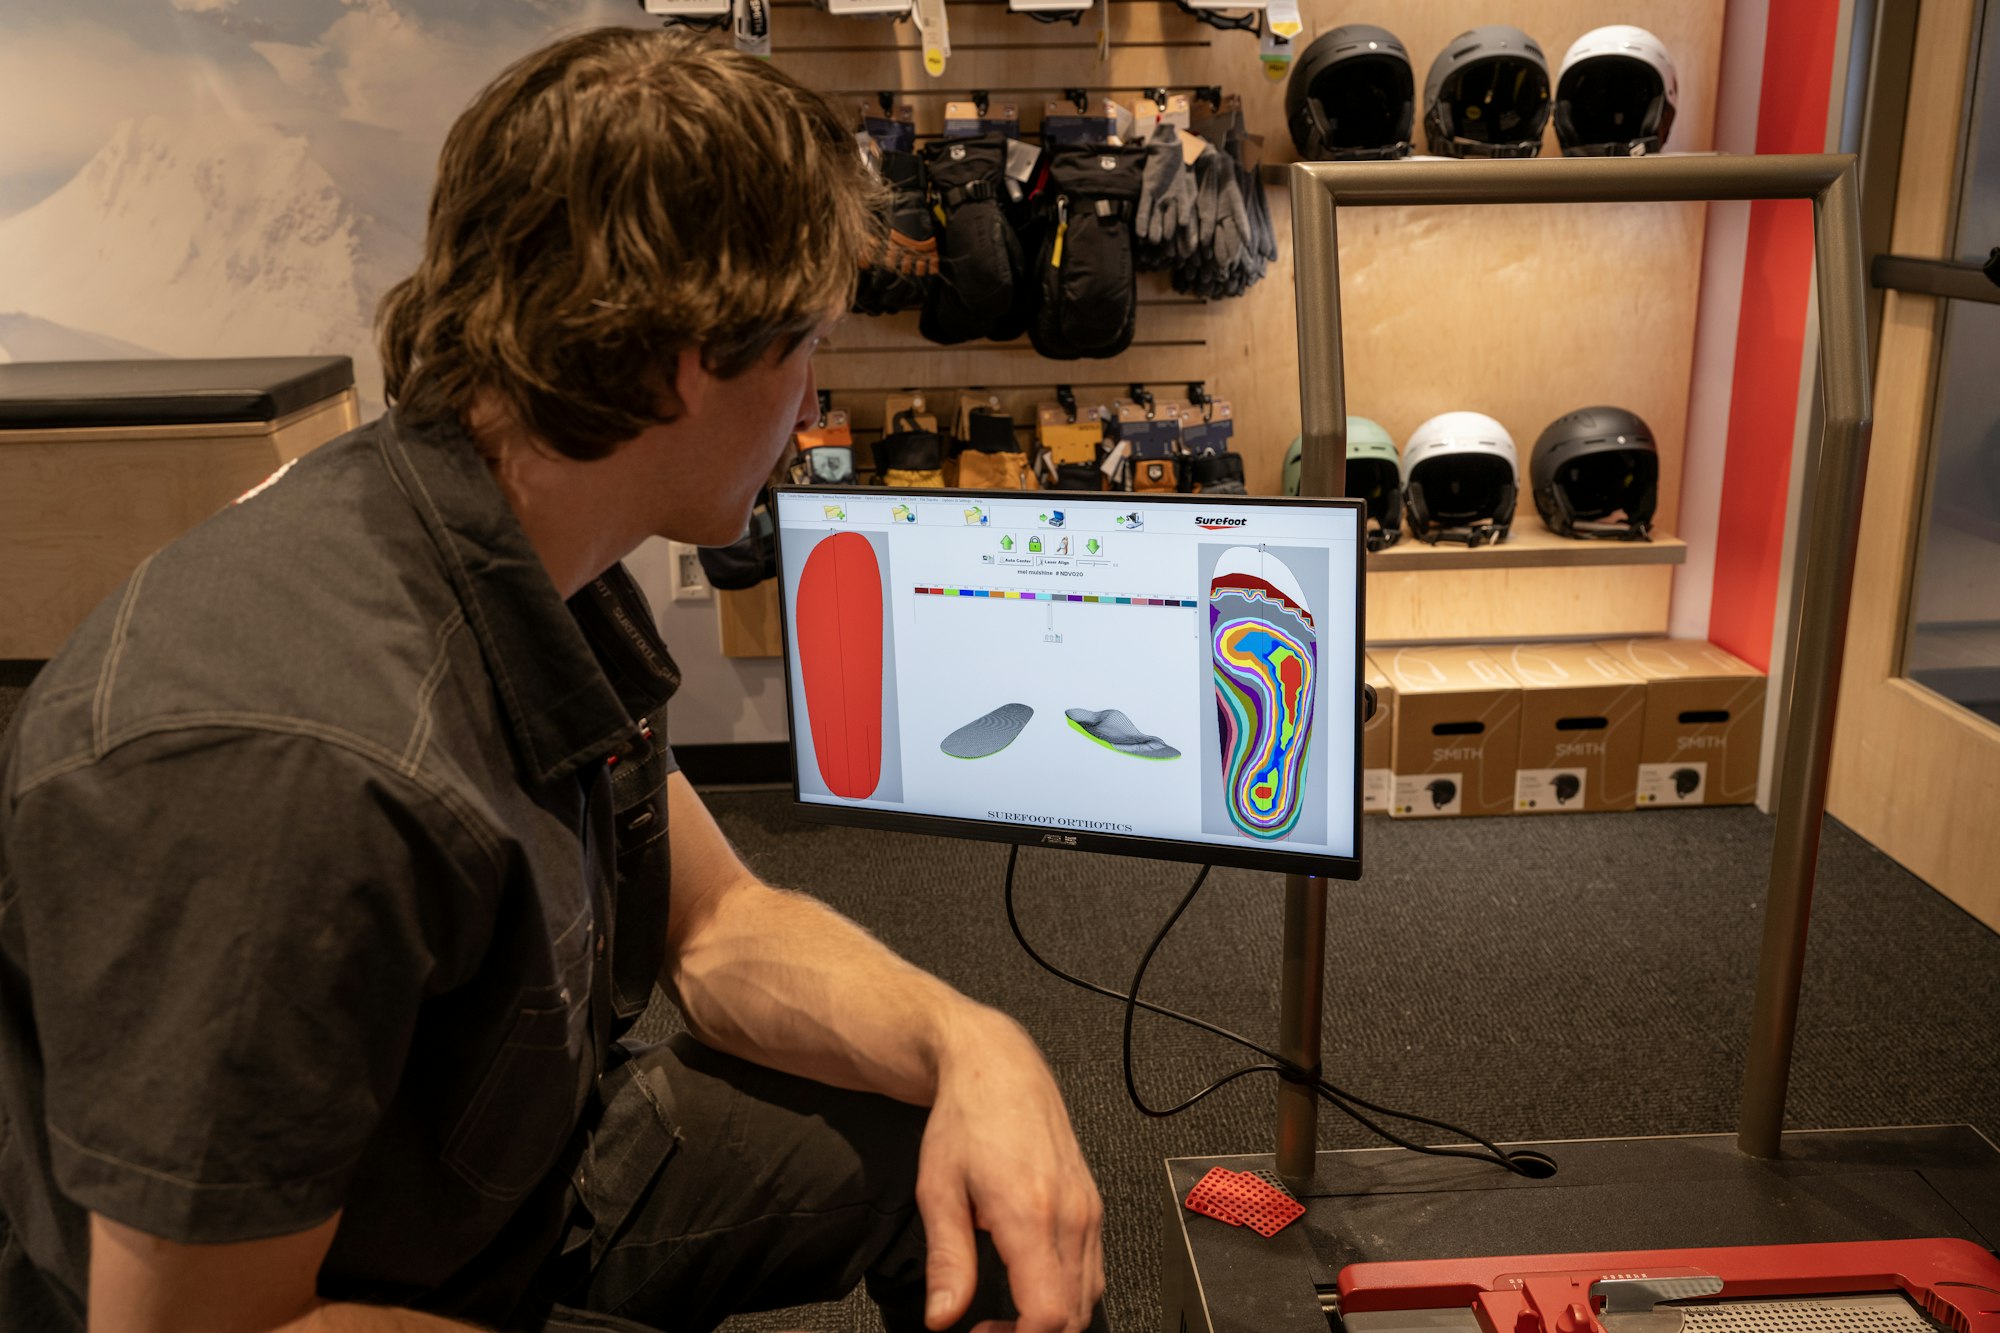
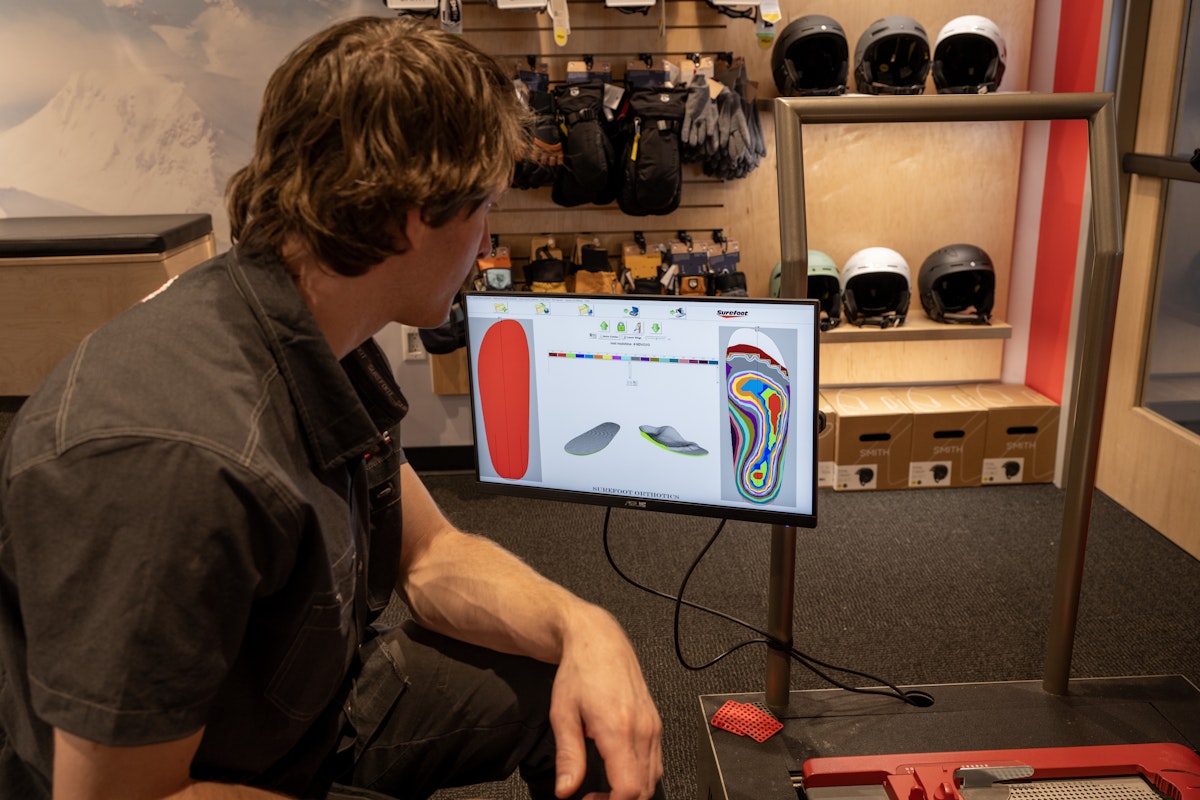
After meeting your boot fitter and discussing goals and concerns about purchasing a new pair of ski boots, the process begins on Surefoot’s 3D foot scan machine where a 360-degree image is taken of your foot. Then using Surefoot’s software, your boot fitter is able to determine which shell is right for you. These results are based on three main metrics; mondo point (or foot length), volume (or foot width) and any special features needed such as touring compatibility.
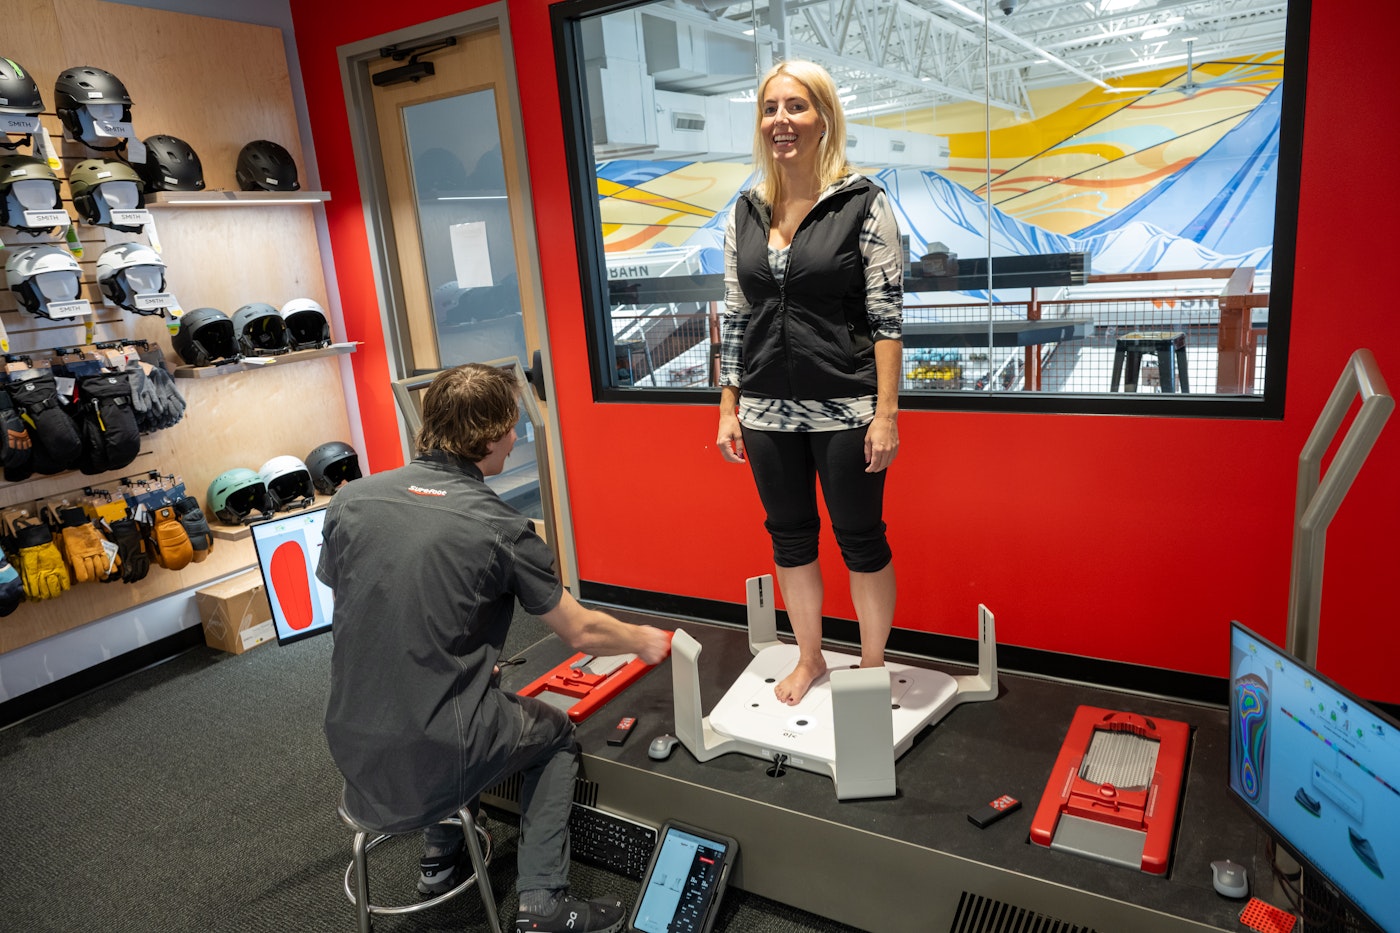
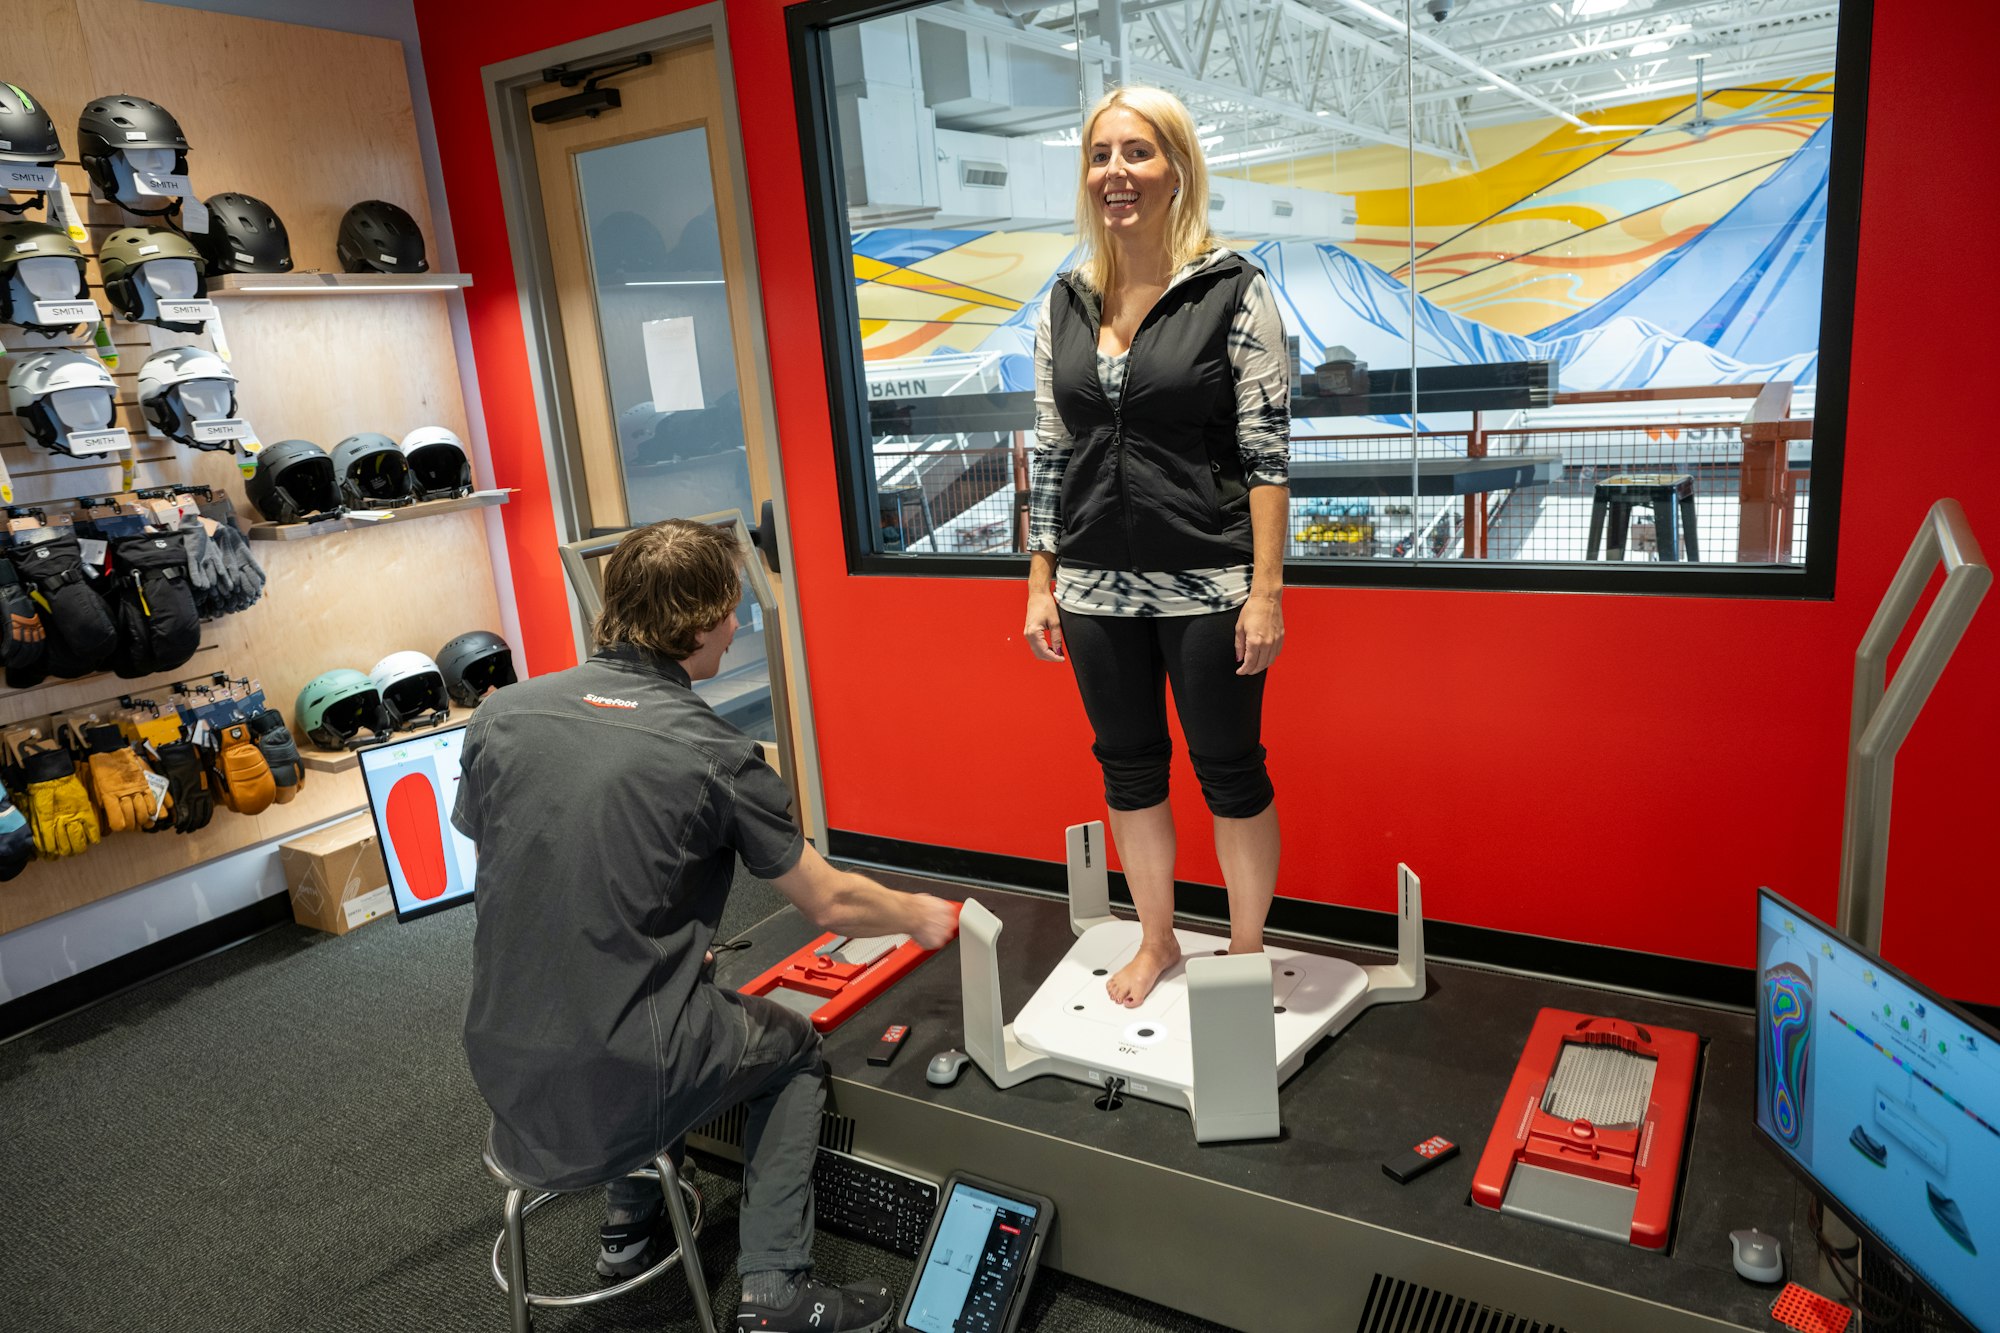
Surefoot’s Store Manager Mike initiates a 3D foot scan
Step Two // Foot Sole Scan
Using a state-of-the-art and extremely precise sole scanning machine, Surefoot is able to take a topographic map of the bottom of your foot. When a foot is placed on the machine, little metal dowels slowly emerge from beneath the foot through a set of strategically placed holes. As the dowels make contact with the foot they stop, and after all the dowels make contact with your foot the machine is left with an extremely precise and accurate map of your foot to translate into the insole’s shape.
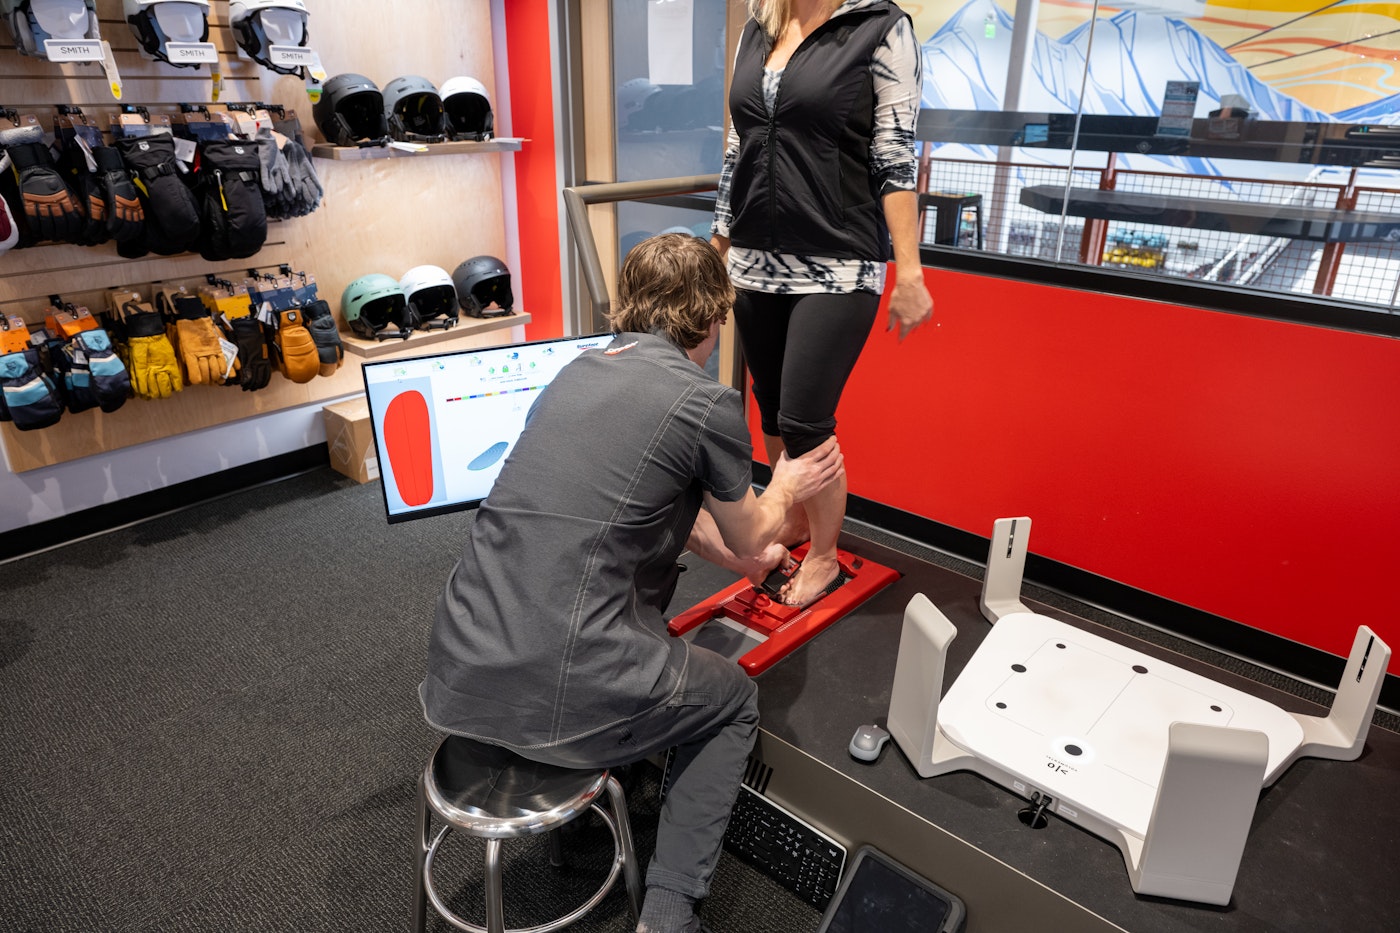
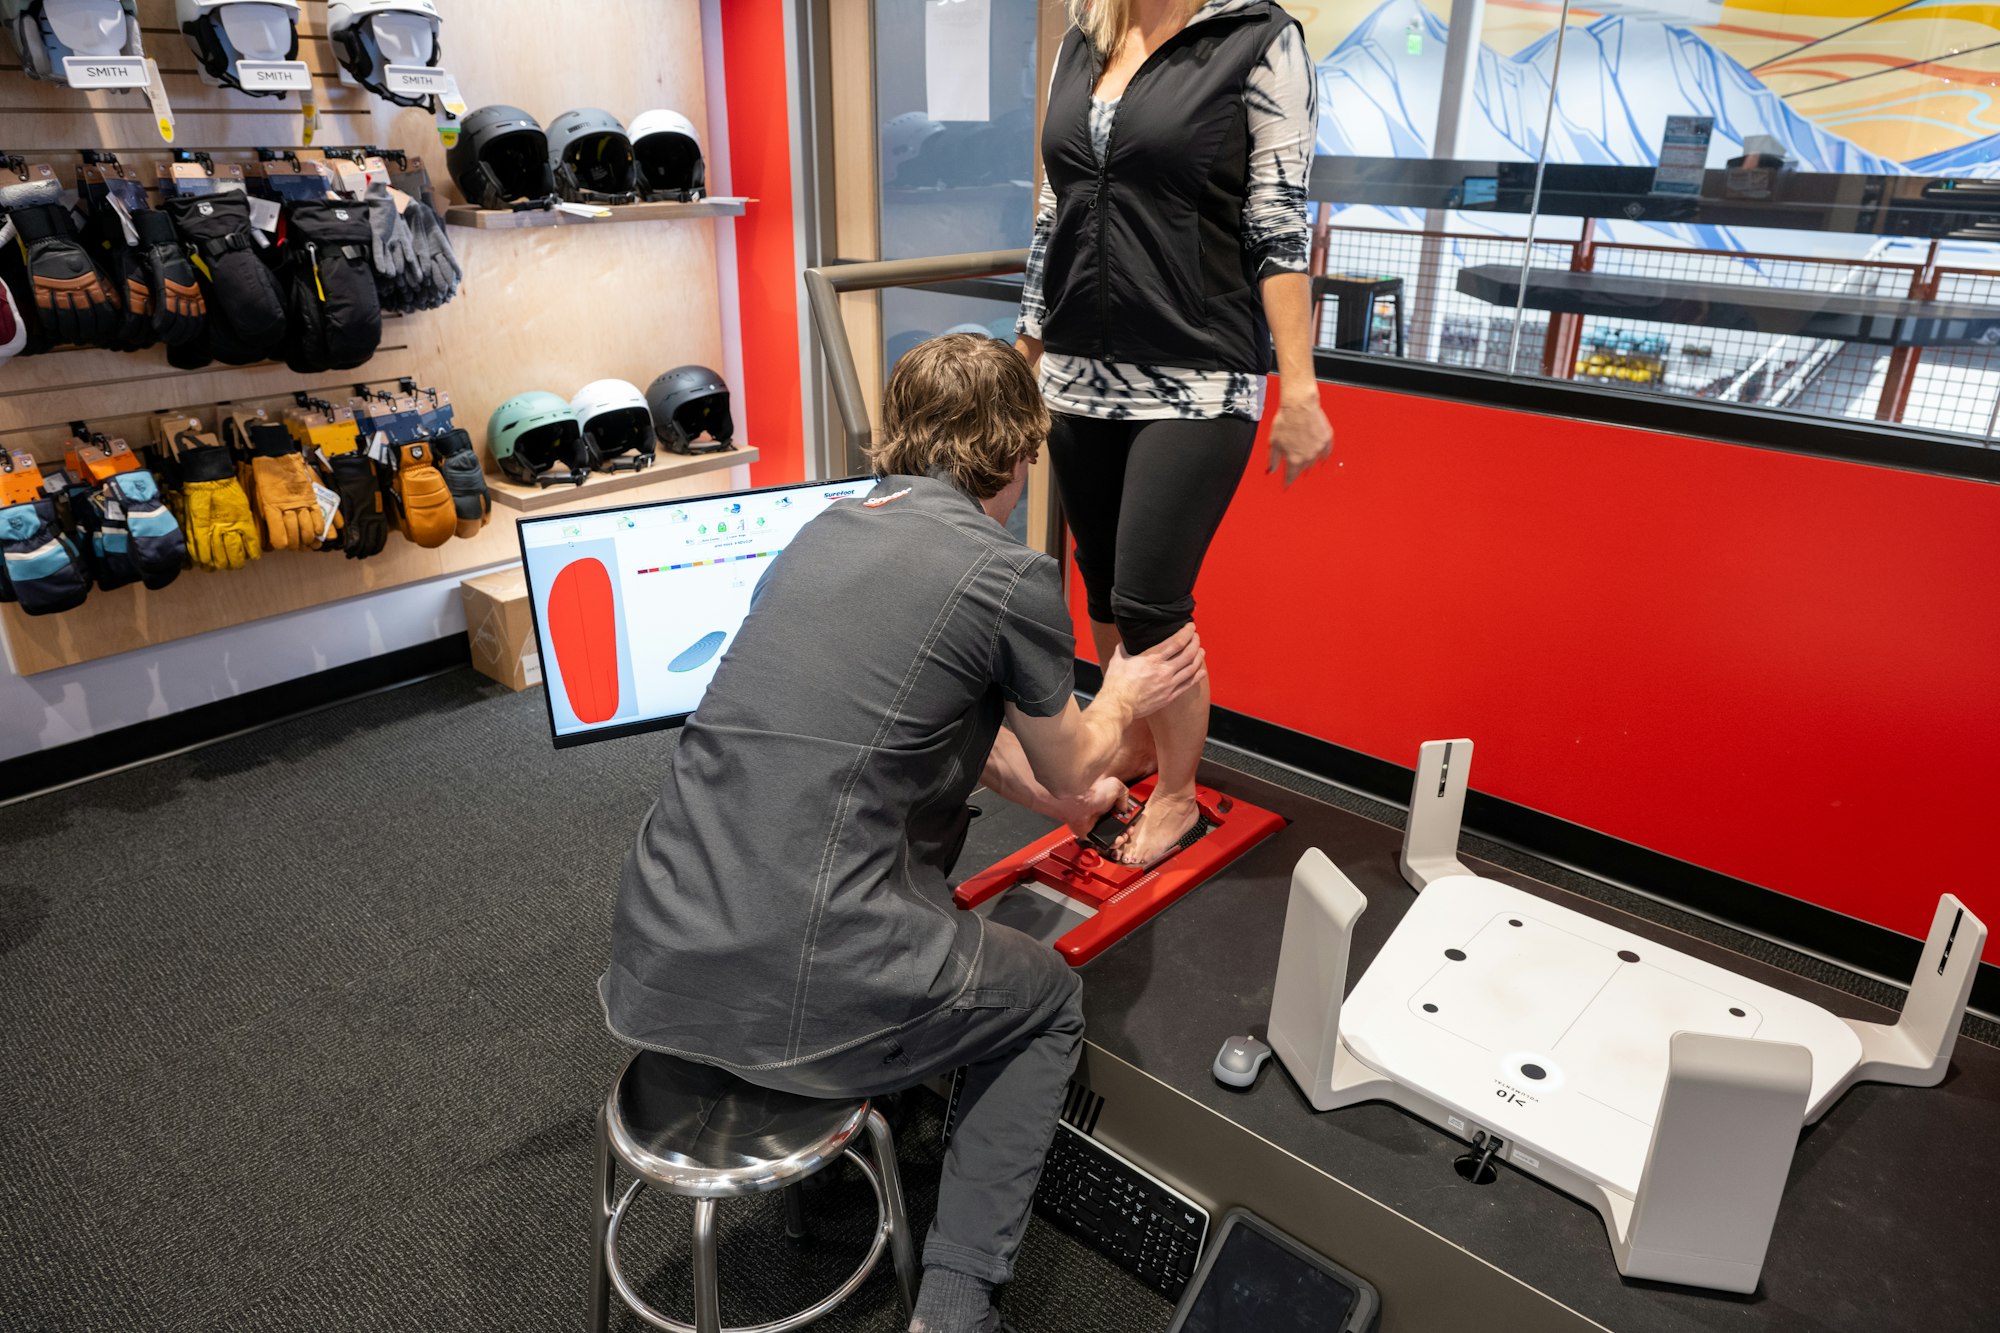
Each foot is individually scanned to provide consistent results
Step Three // Custom Insoles
The information from the process above is then sent to a computer in the back of the shop which is connected to two large CNC machines. Surefoot’s boot fitters then take two proprietary blank insoles and puts them into the CNC machine and based off the scans of your feet, the machine cuts two insoles specific to the customers right and left foot. After a few minutes the insoles are taken from the CNC machine and finished on a sanding belt to remove any imperfections. This process completely removes any human error found in other insole making processes, and if for some reason you needed another insole to put into your shoes or another pair of ski boots, you can simply call your local Surefoot store and they can make you a new set based off your foot scans which lives in their database.
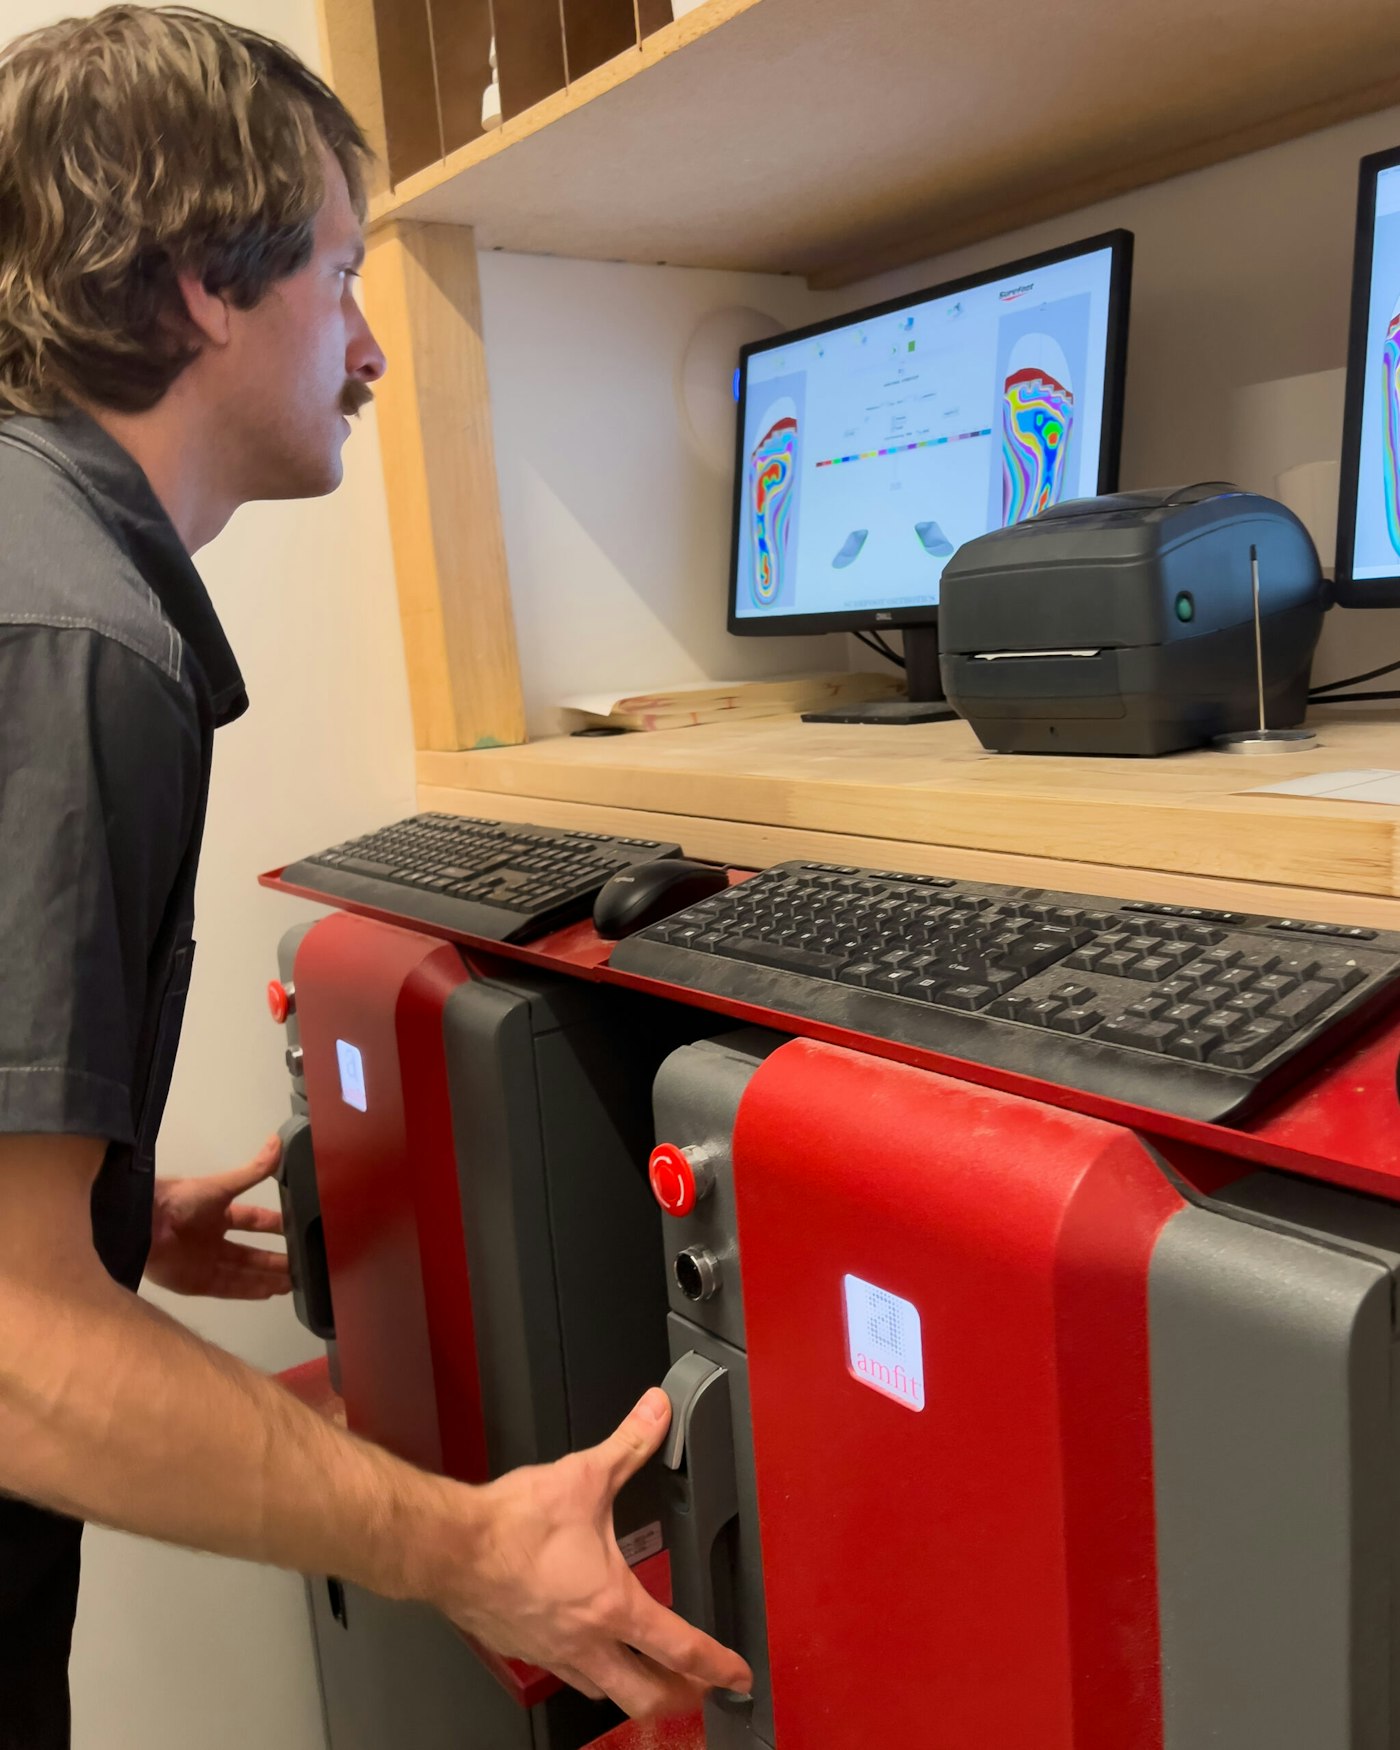
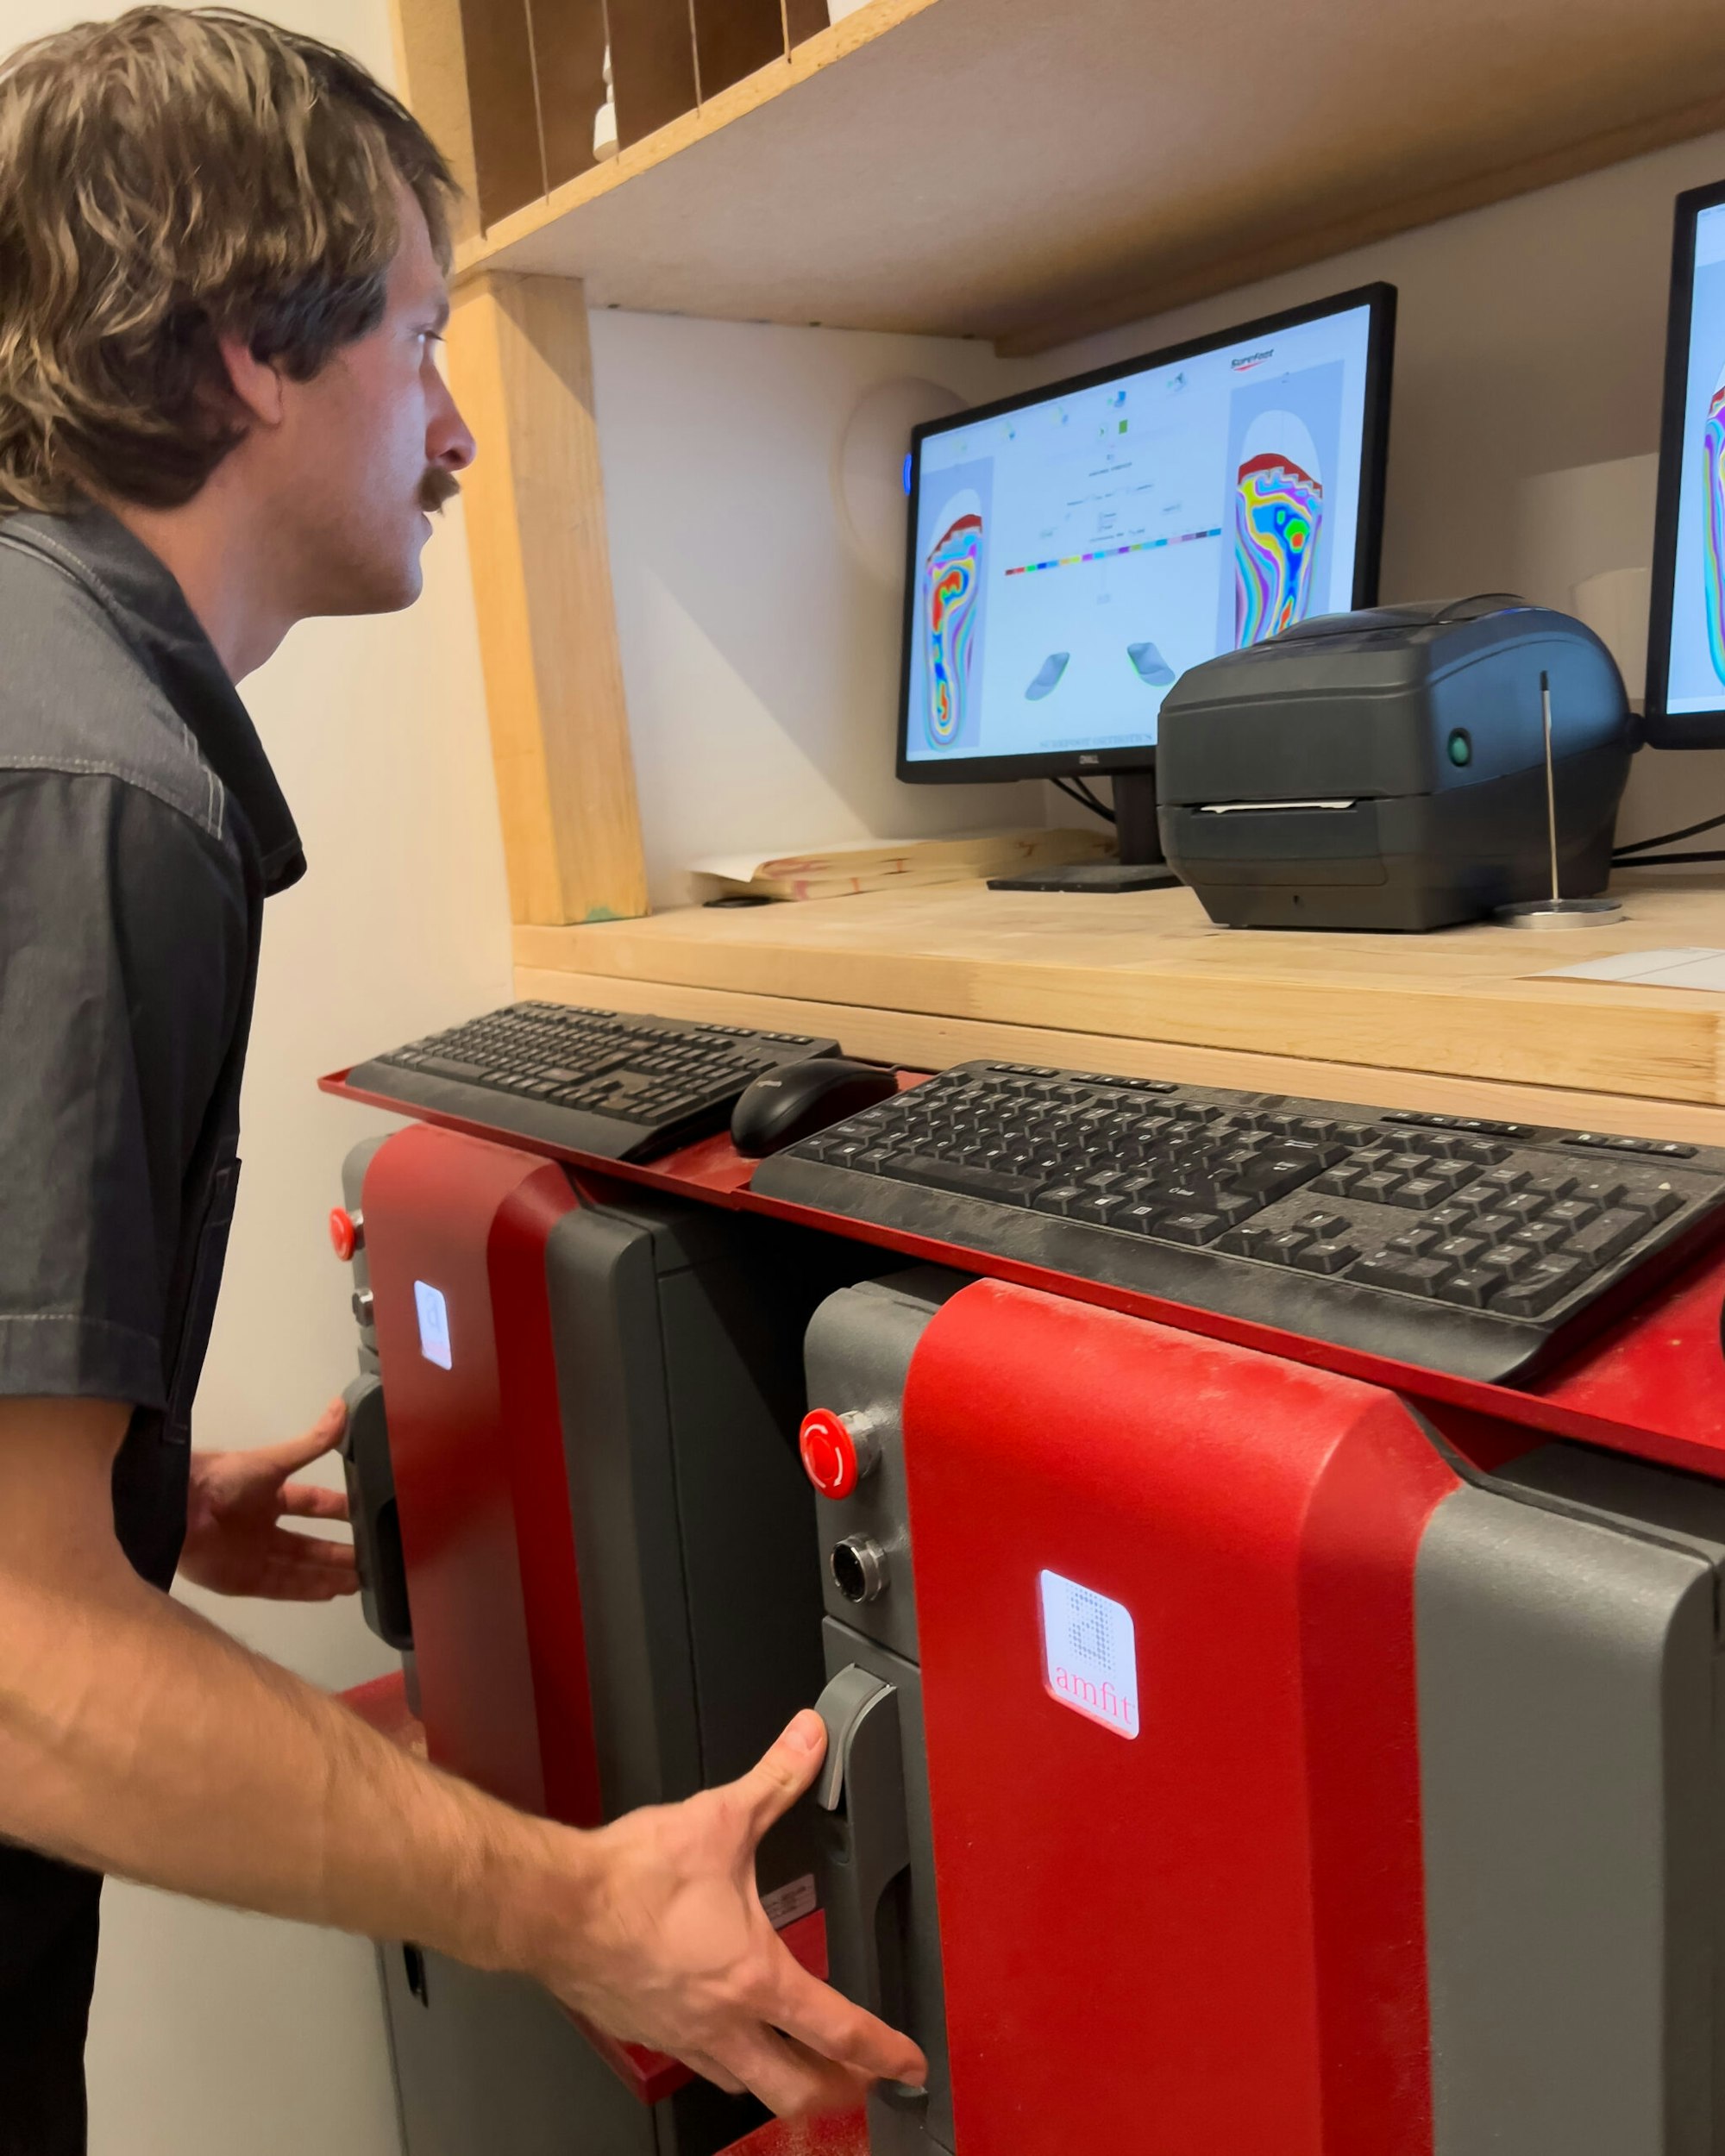
Mike uploads blank insoles to the CNC which reads the scan to create the custom shape
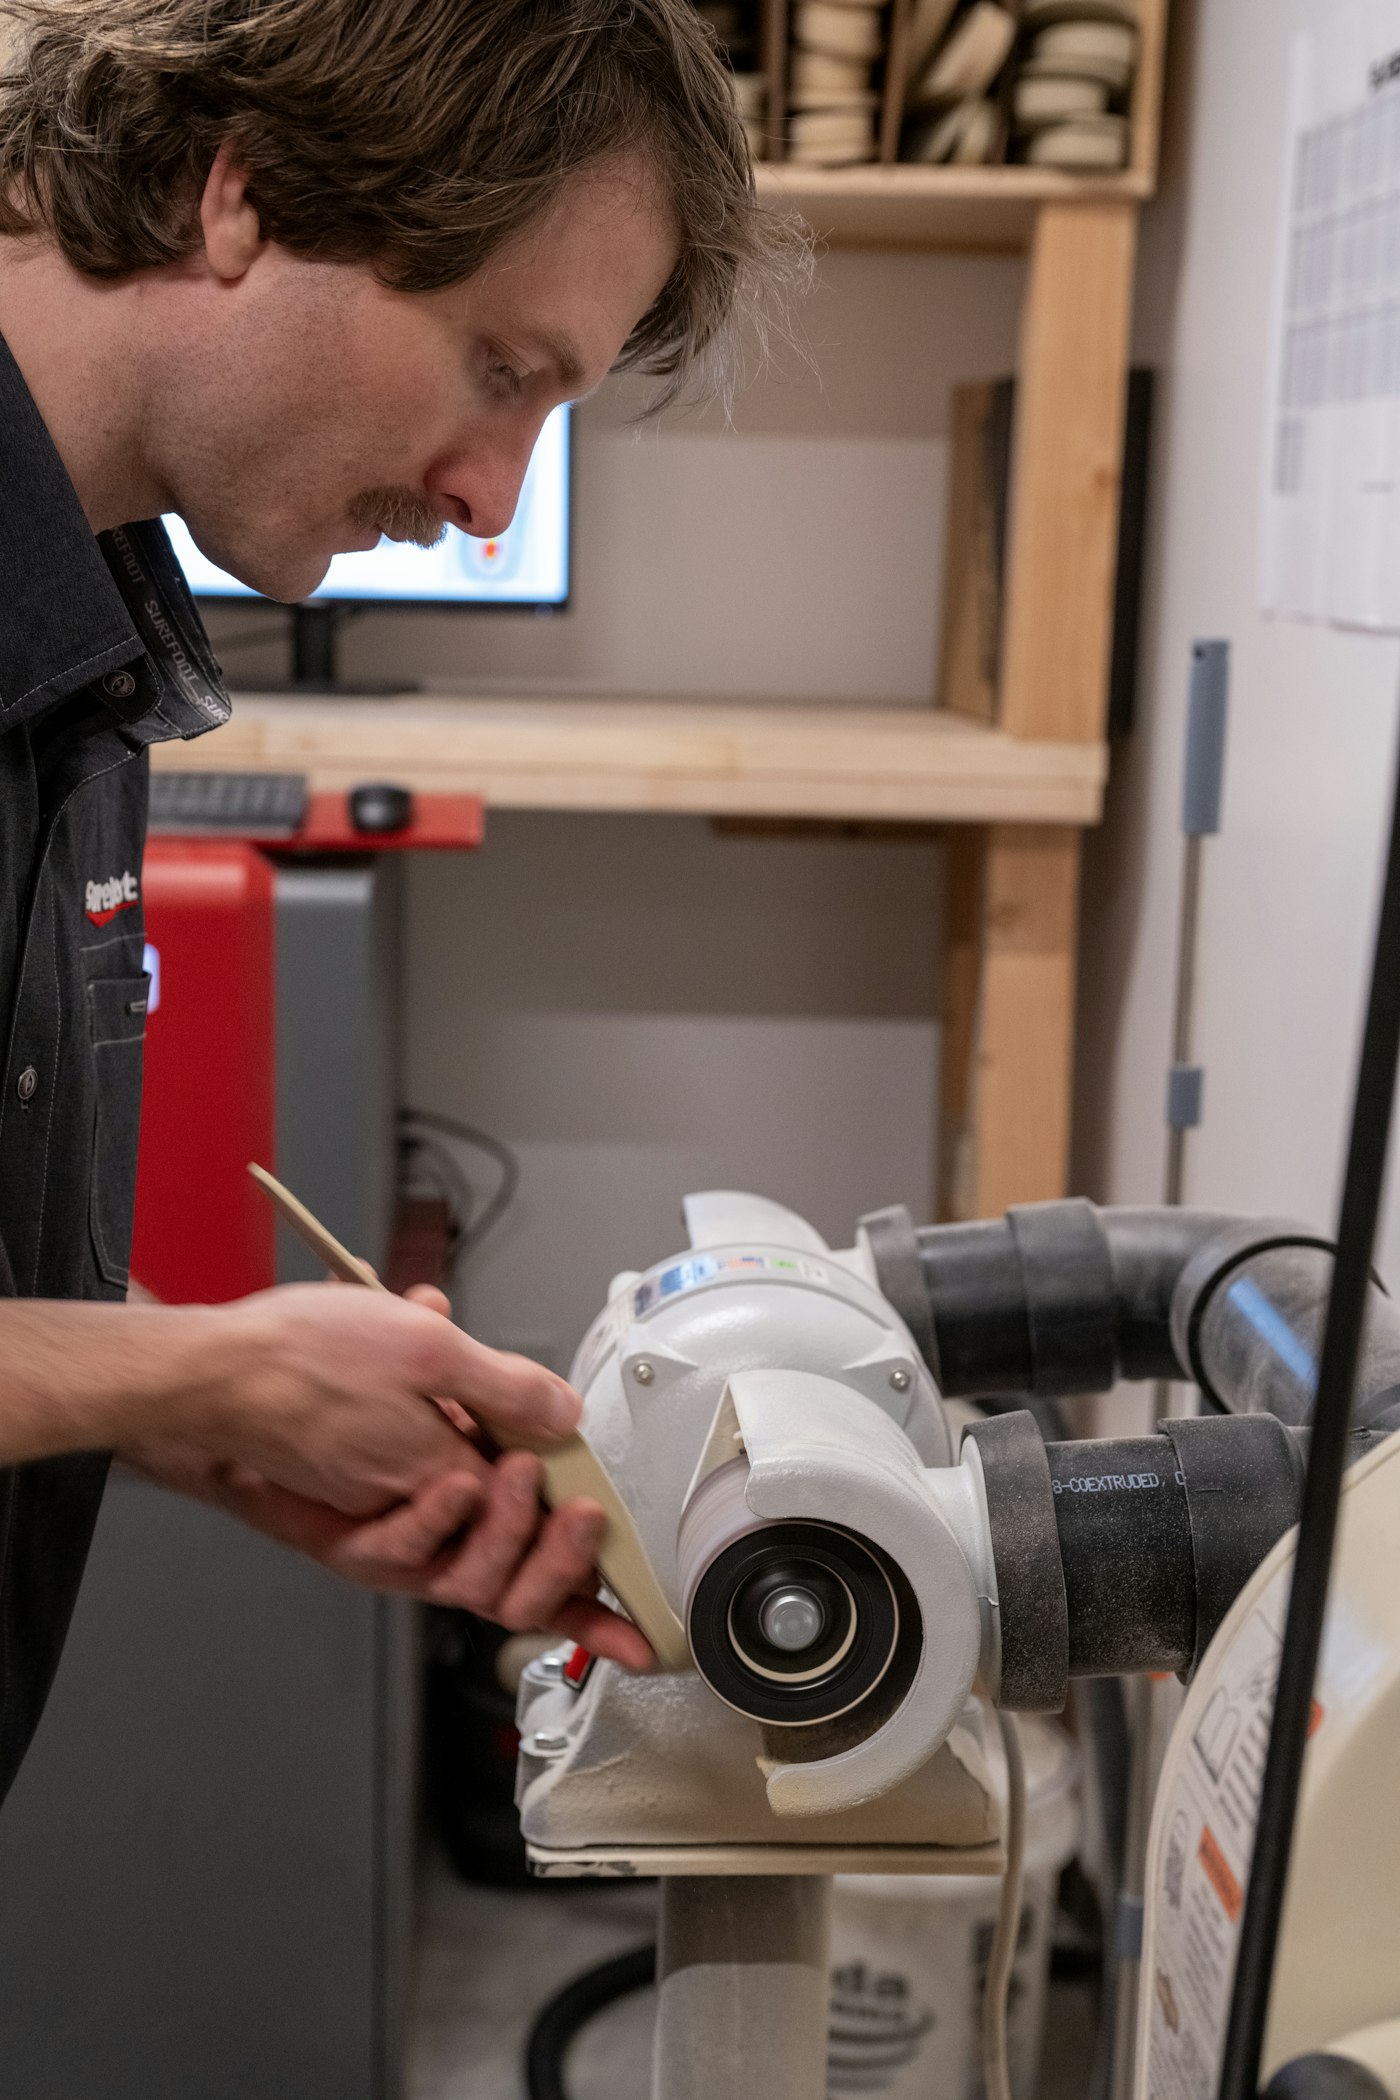
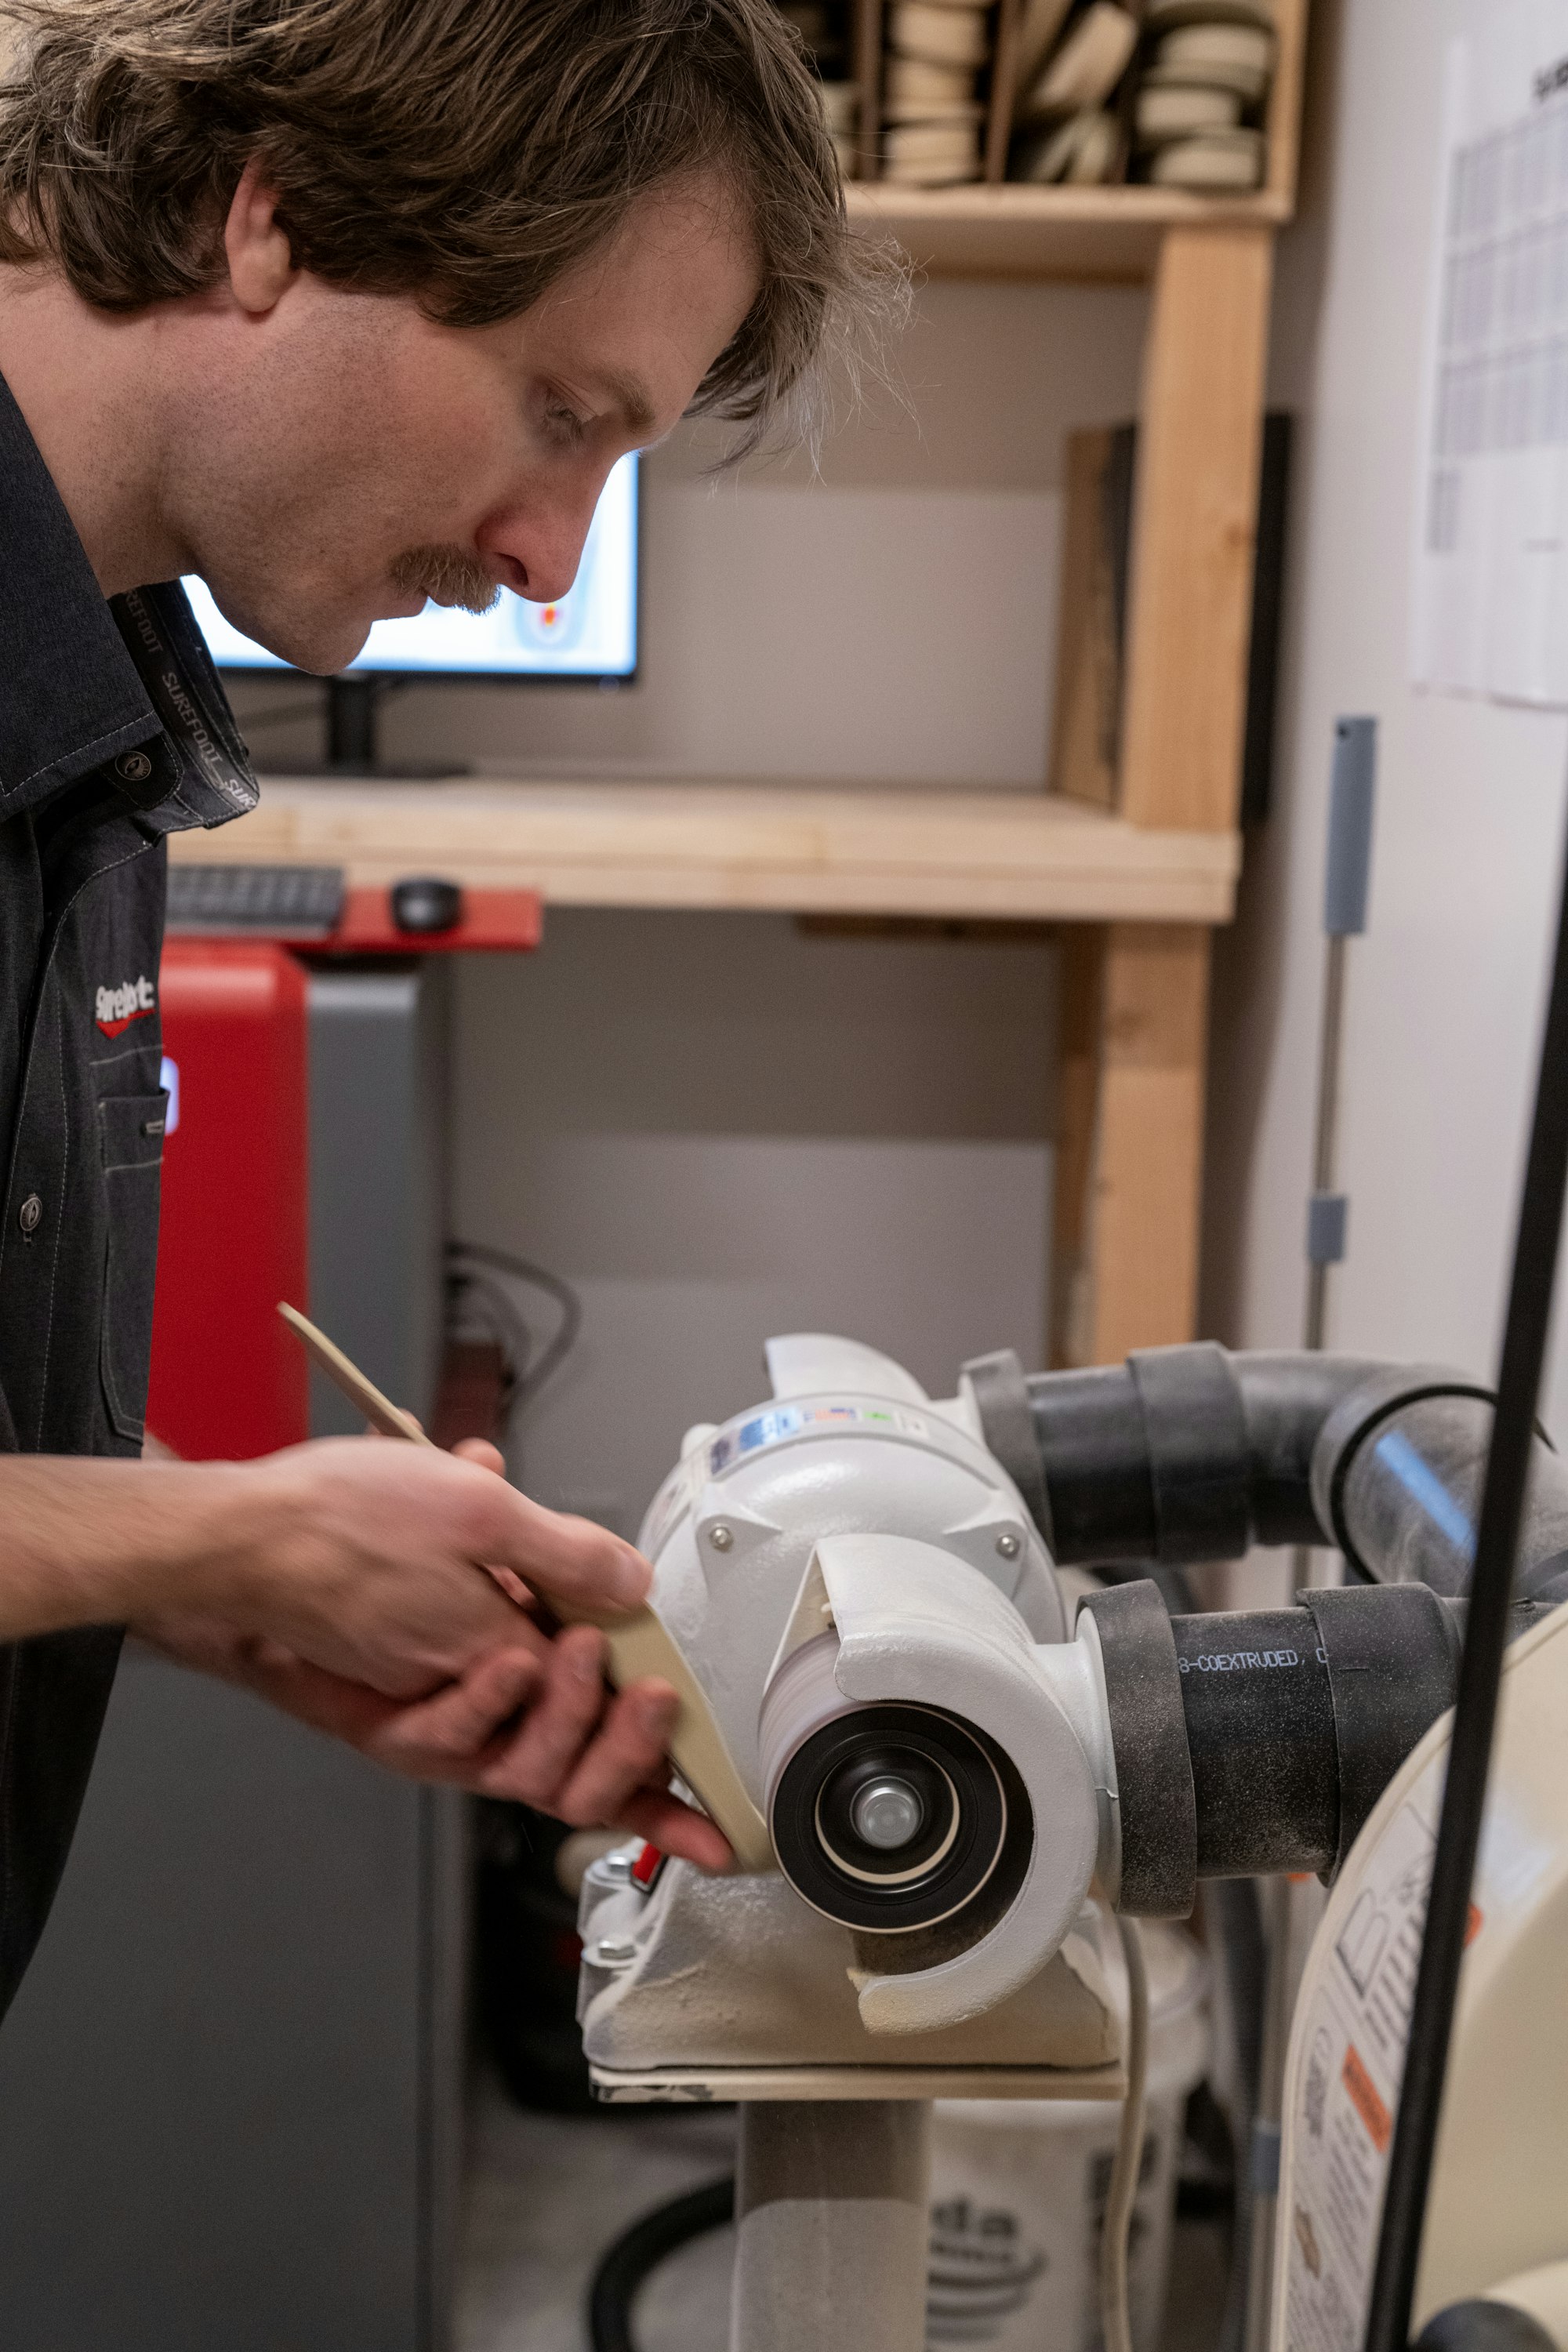
Insoles are then smoothed out on a sanding belt to perfect the finished product
Step Four // Foam Injection
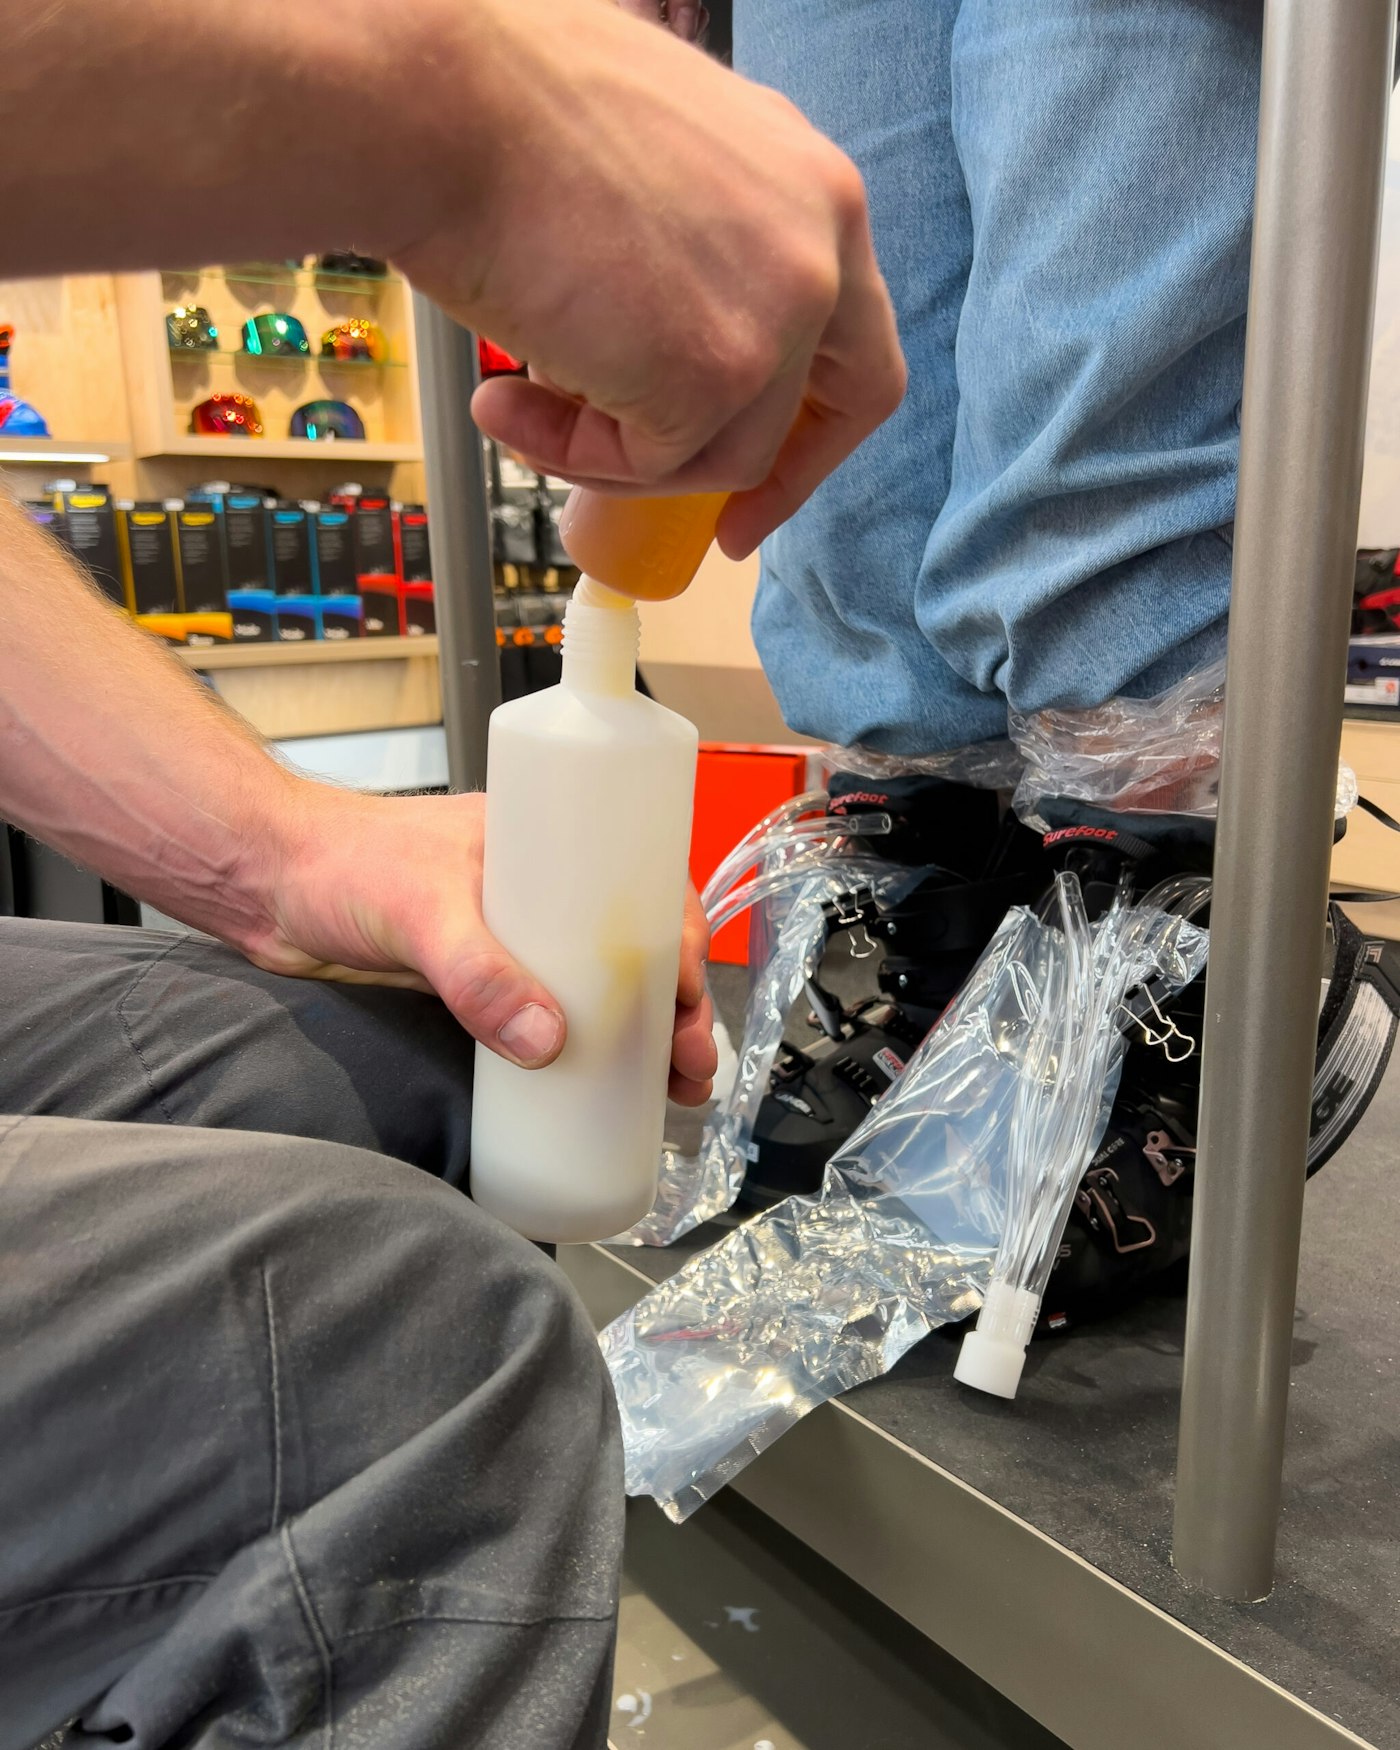
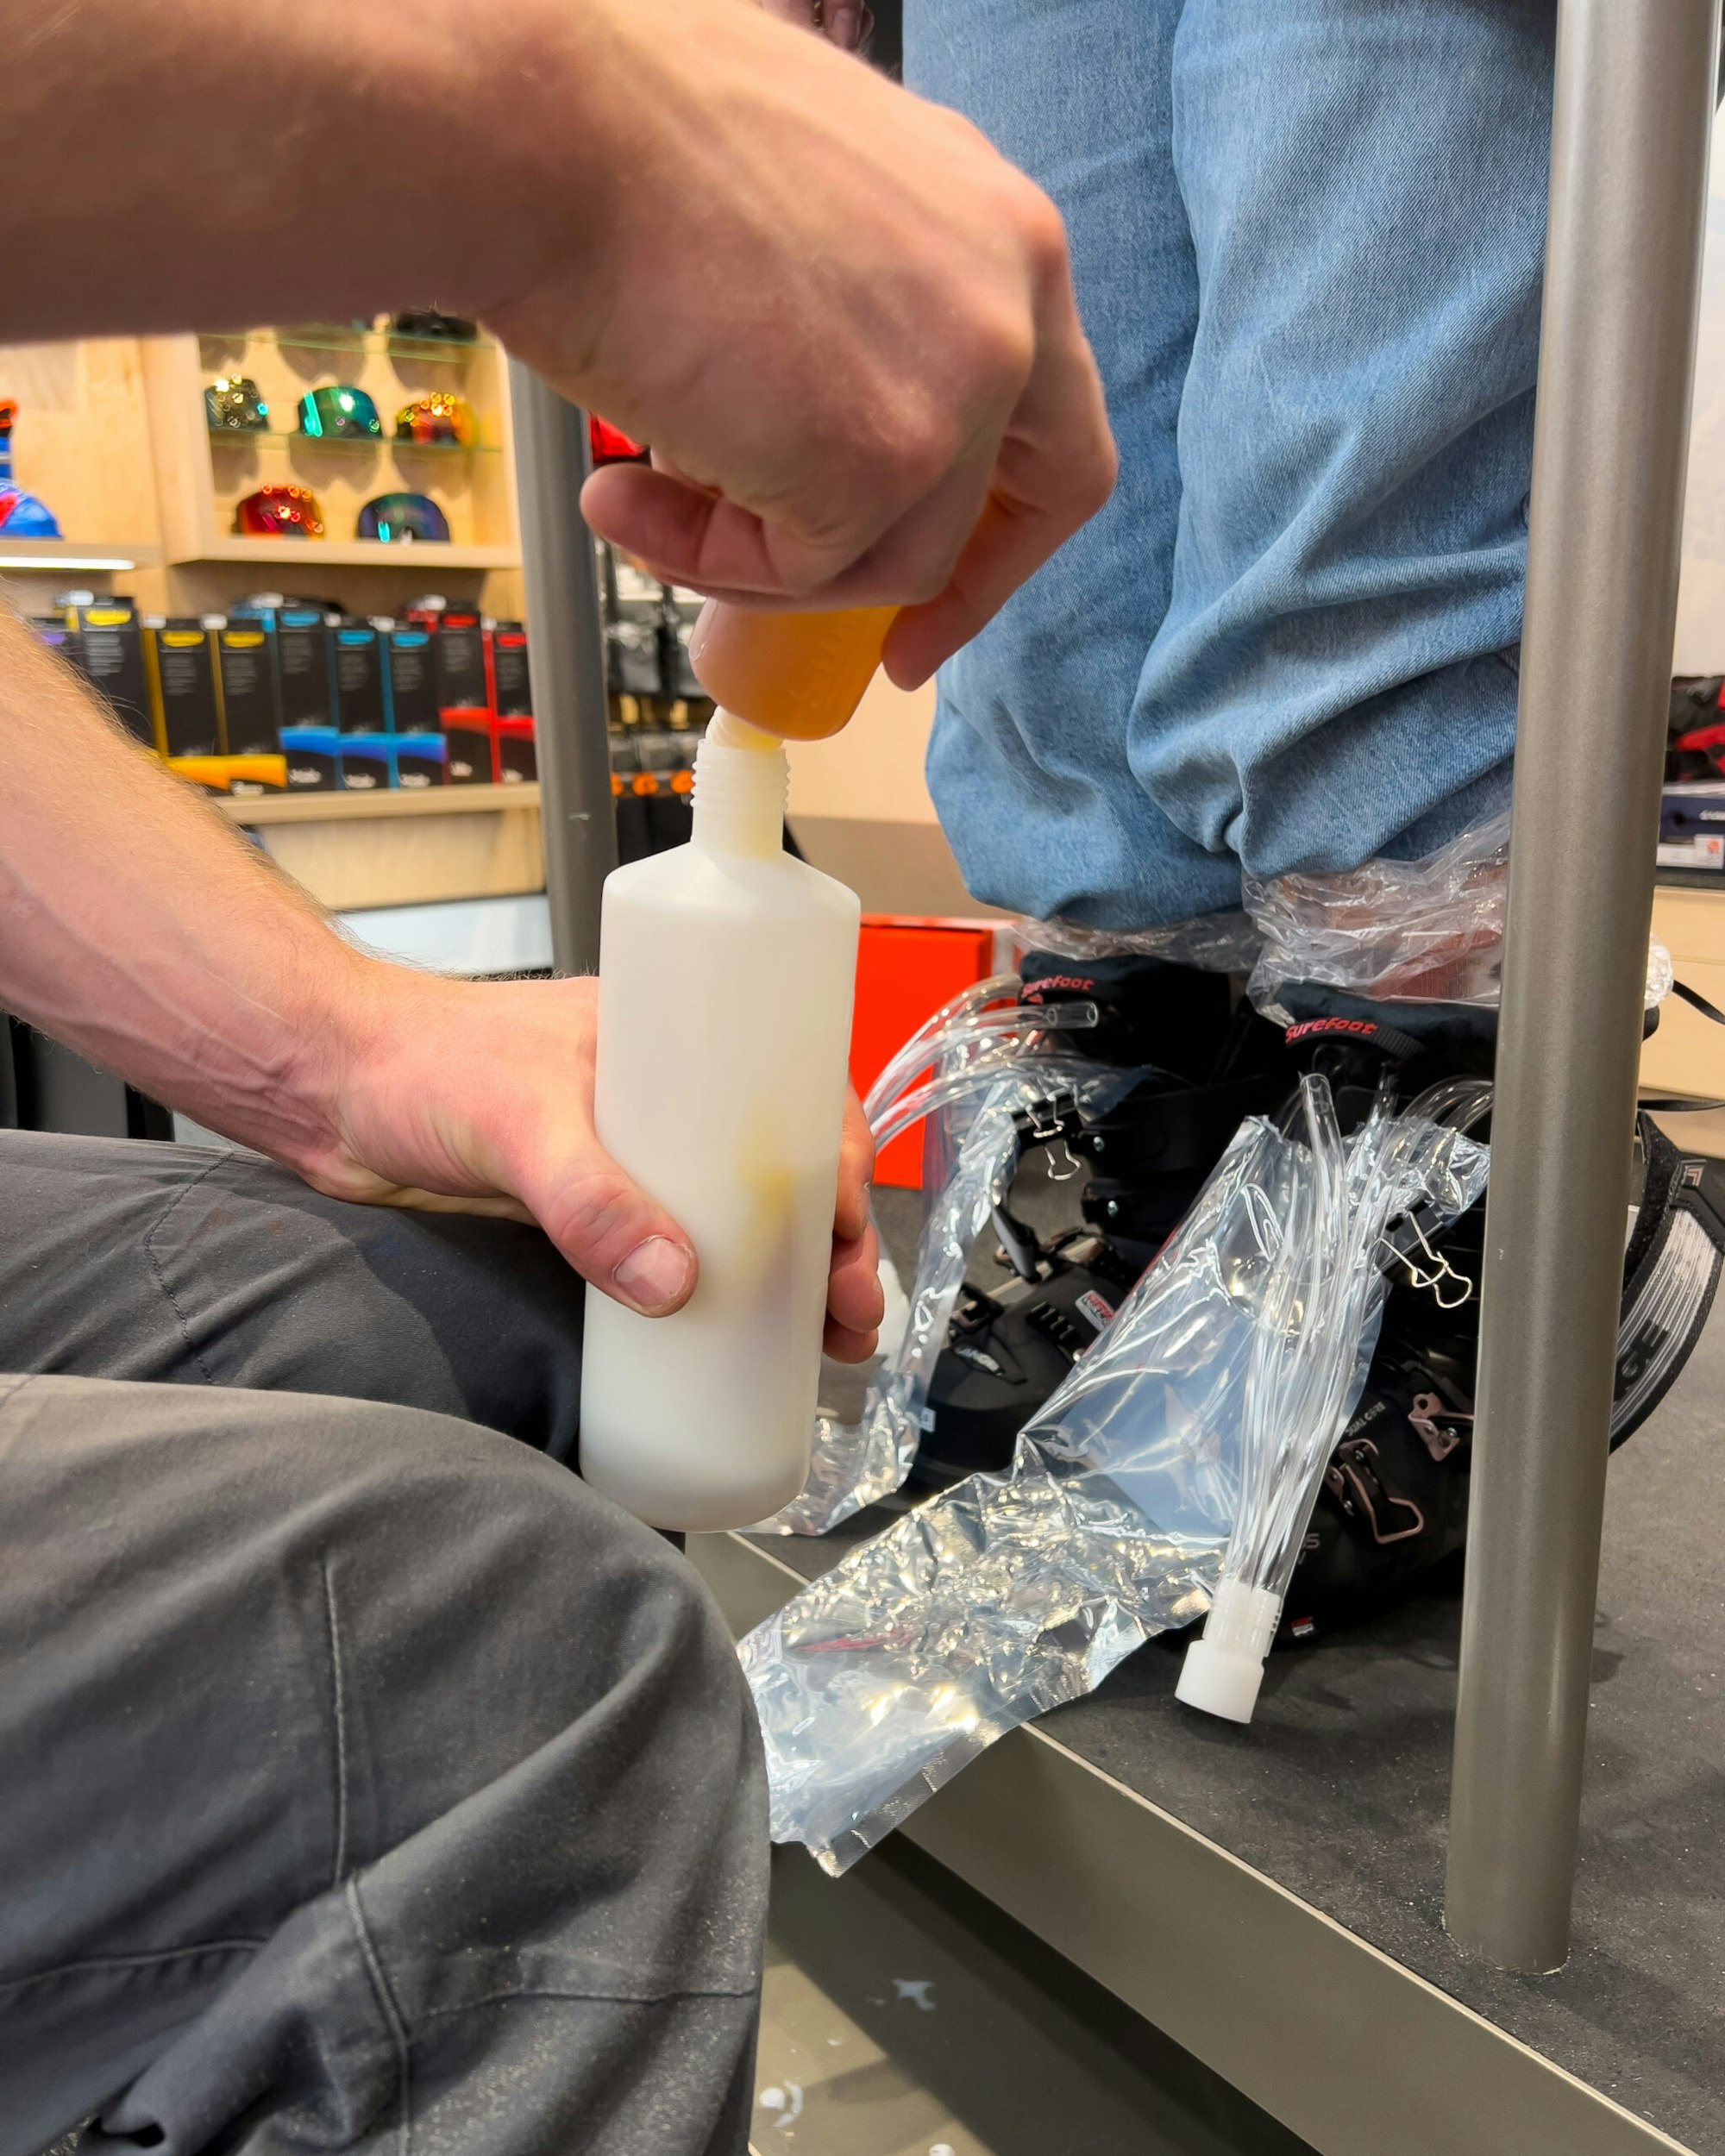
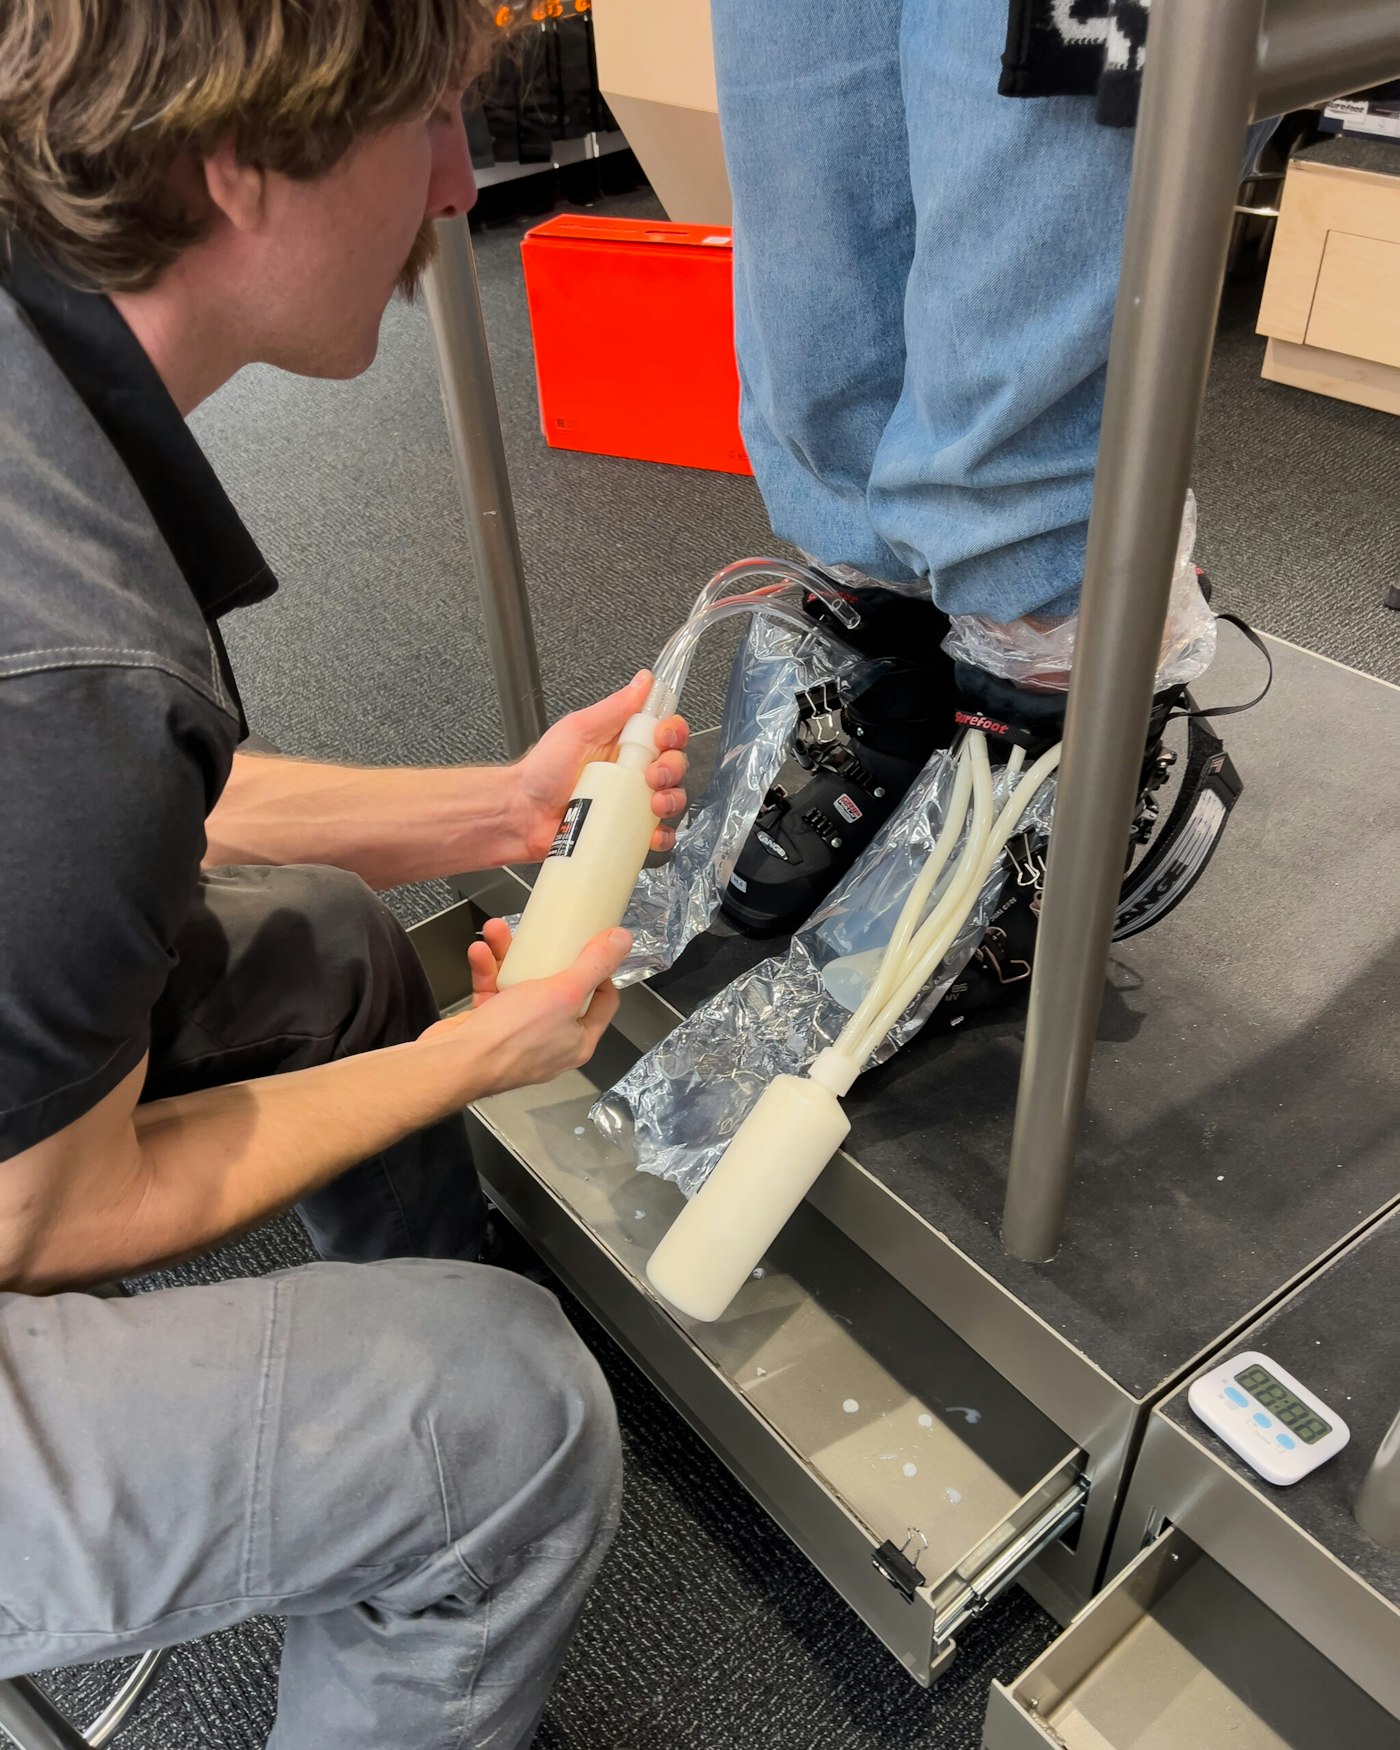
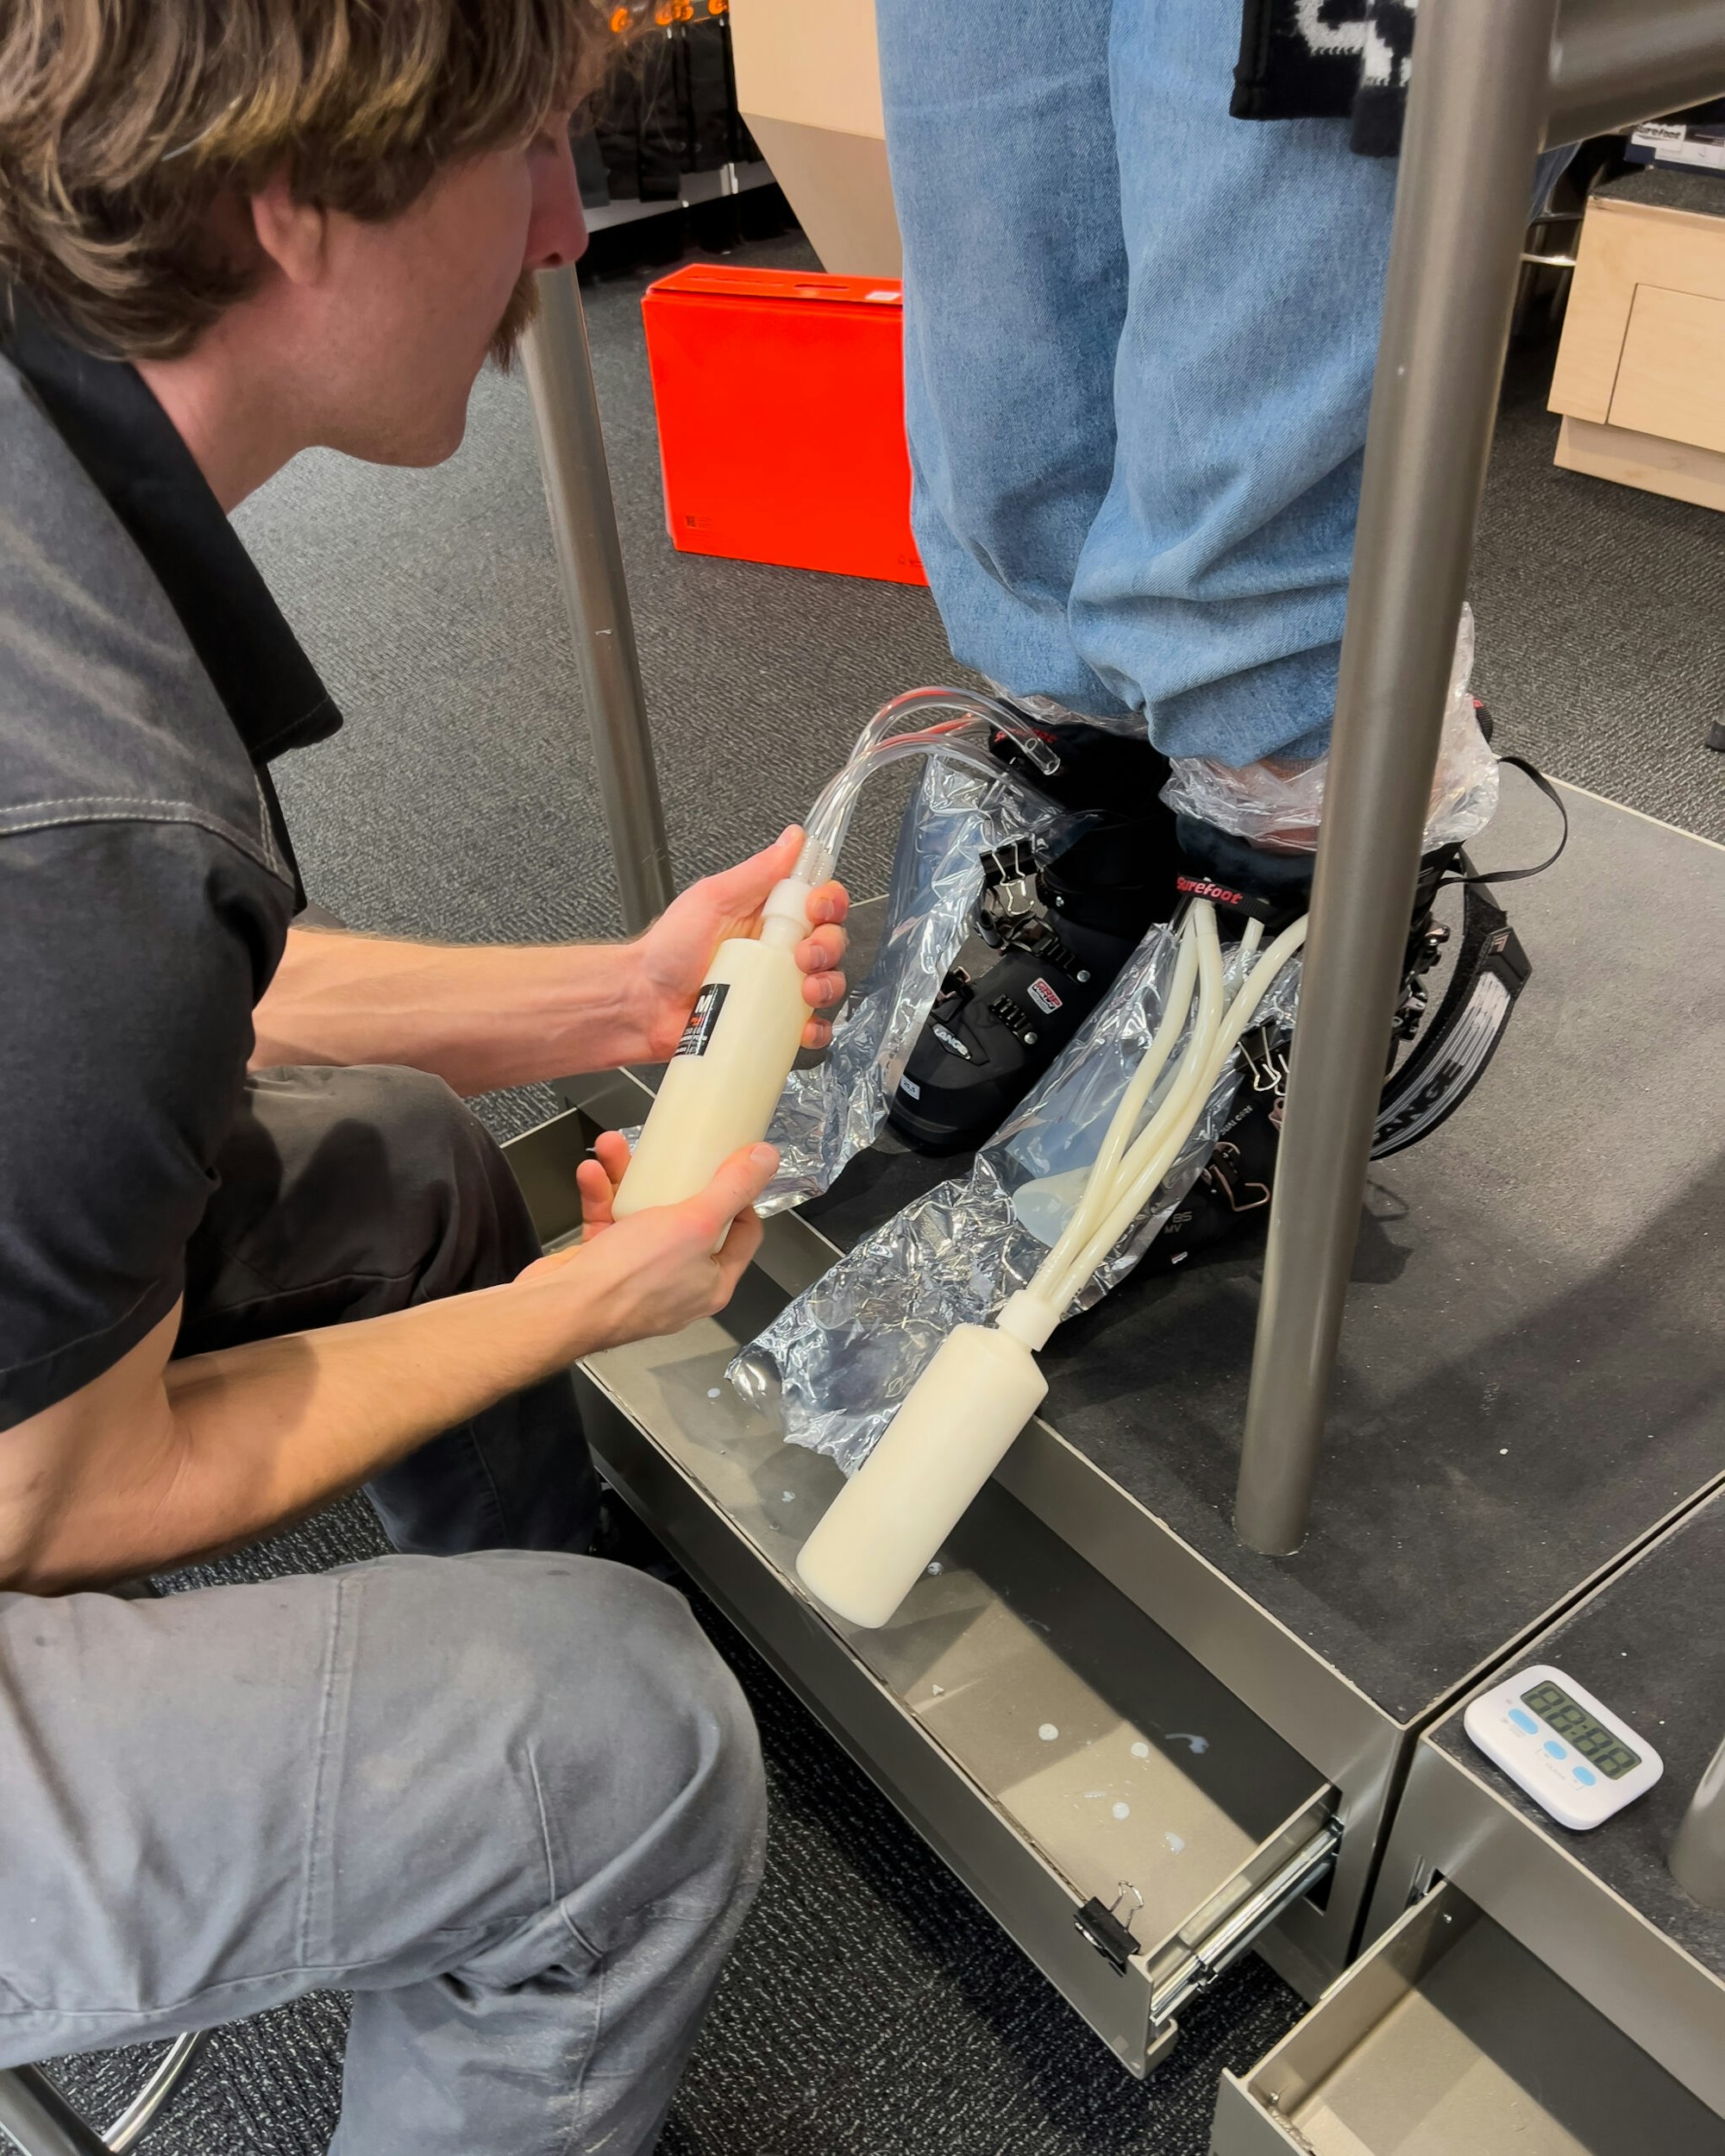
After your insoles are ready to go and your shell is selected, it is time for your custom liners to be formed. First step is choosing the liner blank that is right for you—this can be one for racing, backcountry, resort skiing and so on. Once chosen, your boot fitter will put together your selected shell, freshly made insoles and liner. Then the boot is put on your foot, which is covered in a plastic bag for precaution, and is ready to be foamed. Standing in an athletic ski stance, a boot fitter mixes and shakes together part A and B of their foam mixture and quickly connects the bottle to the hoses coming from the liner. Inside the bottle an exothermic reaction is occurring, producing a quickly expanding foam and heat. The foam quickly outgrows the small bottle and shoots through the tubes, equally distributing foam all over the foot and calf with extra emphasis on the heel, ankle and shin. After five minutes the foam has hardened and your boot fitter pulls out the tubes, and just like that you now have a 100-percent custom pair of ski boots.
Step Five // Minute Adjustments and Final Touches
Once you have the plastic bags off your feet, the boots are put back on to test the result and see if there are any pressure points where the shell may need to be bumped out. The process is topped off with the installation of Surefoot’s heated battery appartatus and your boots are ready to go. Surefoot encourages you to then take them out on the slopes for testing and if it turns out there are any pressure points or pinching, rest assured that your Surefoot boot fitter has your back with a lifetime guarantee for further adjustments.
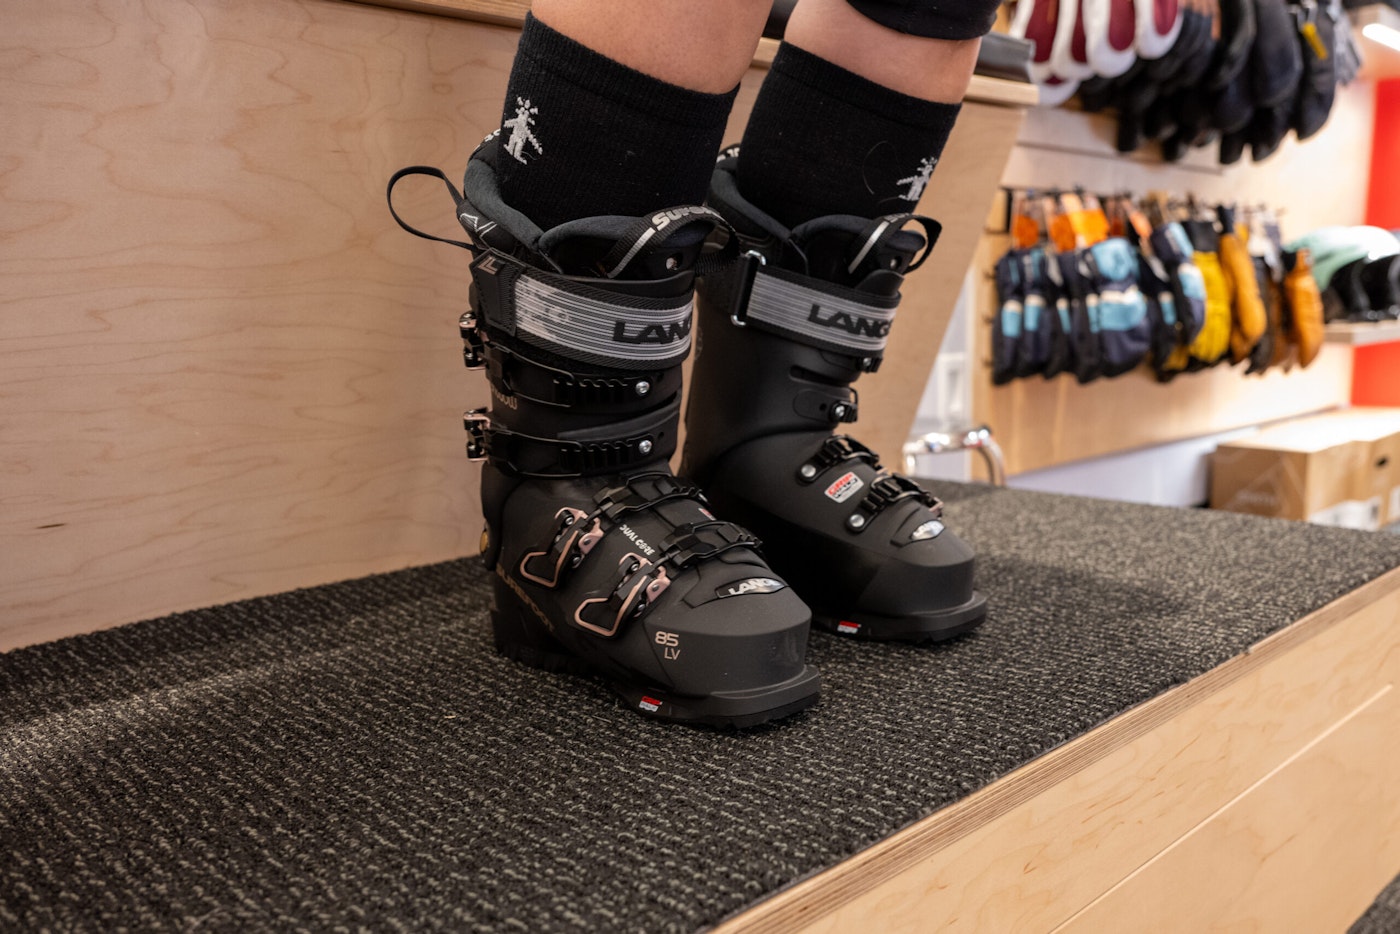
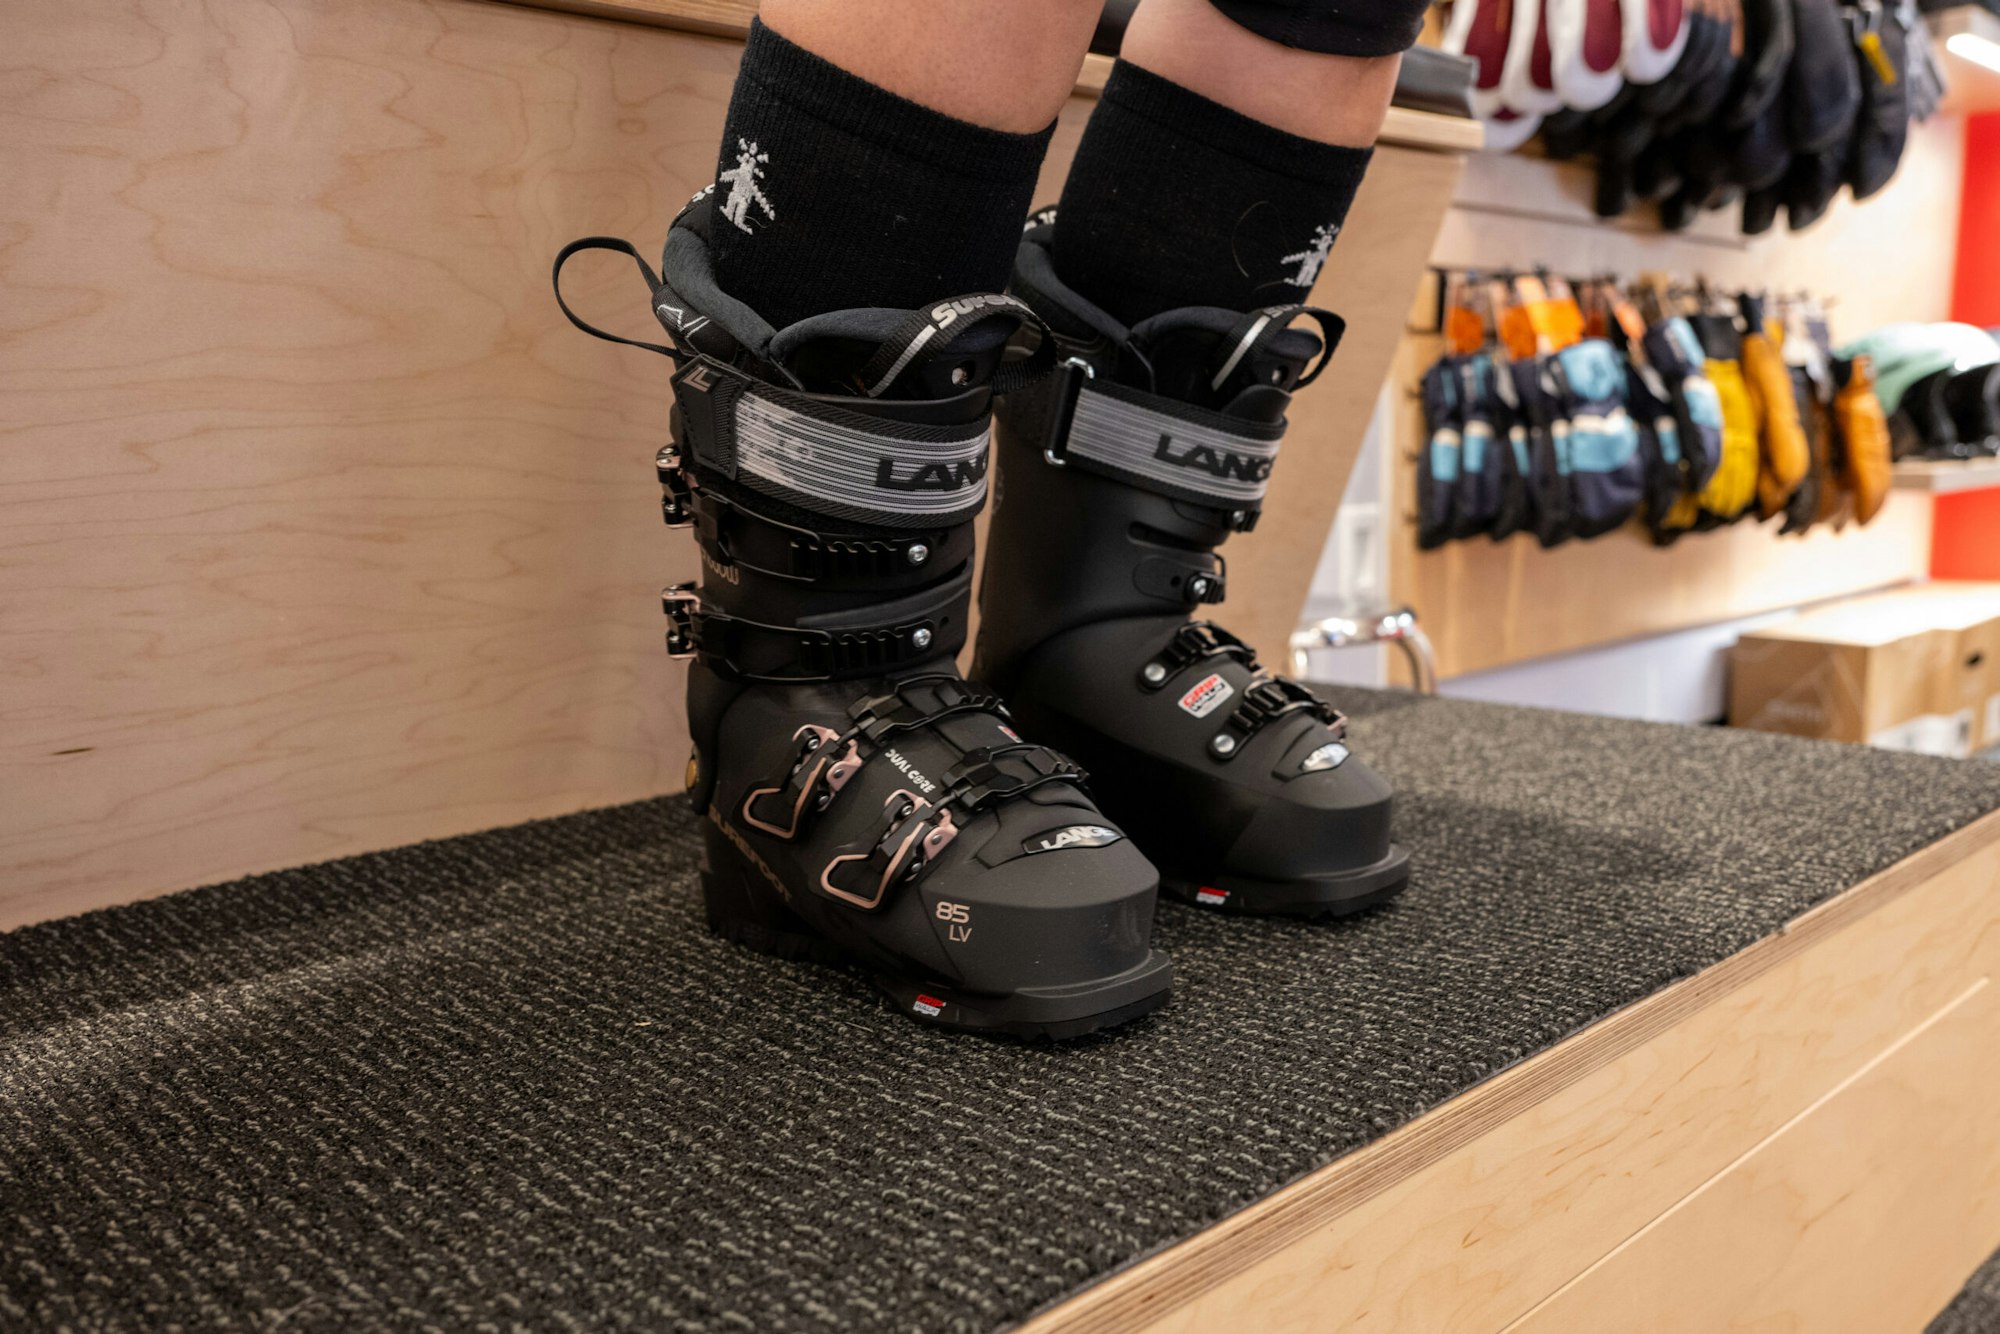
The entire process from start to finish takes between 60-90 minutes. The level of professionalism and technology that goes into this process is astonishing—and it really works. You can feel the foam wrapping around your heel and ankle in the exact places you need to ensure your foot will stay put when putting the pedal to medal on the hill. Possibly the biggest benefit of going full boar on this investment is that many of the shop locations are at the base or nearby ski resorts. Therefore, if you ever find yourself having boot issues while skiing, you can easily pop into a shop and get them taken care of right away.
If you are in the market for a new pair of boots, let Surefoot debunk the myths behind ski boot discomfort and get you dialed in this season at one of their 29 locations.

![[GIVEAWAY] Win a YoColorado X Coors Banquet & Liberty Skis Prize Package](https://www.datocms-assets.com/163516/1769630228-pastedgraphic-3.png?w=200&h=200&fit=crop)
![[GIVEAWAY] Win Nordica's All-New Unleashed 106](https://www.datocms-assets.com/163516/1770321616-nordica.webp?w=200&h=200&fit=crop)

![[Op-Ed] Skiing Won't Save the World](https://www.datocms-assets.com/163516/1770146278-madd.webp?auto=format&w=400&h=300&fit=crop&crop=faces,entropy)


![[GIVEAWAY] Win Nordica's All-New Unleashed 106](https://www.datocms-assets.com/163516/1770321616-nordica.webp?auto=format&w=400&h=300&fit=crop&crop=faces,entropy)
